Overview
Motadata ServiceOps supports the Tenant Management feature. This enables you to create and maintain multiple tenants for a particular organization. Thus, an organization with multiple branches or departments can create and maintain a separate ServiceOps instance (tenant) for each branch. This makes it easy for the companies to manage the users, assets, etc., branch specific without affecting the parent tenant.
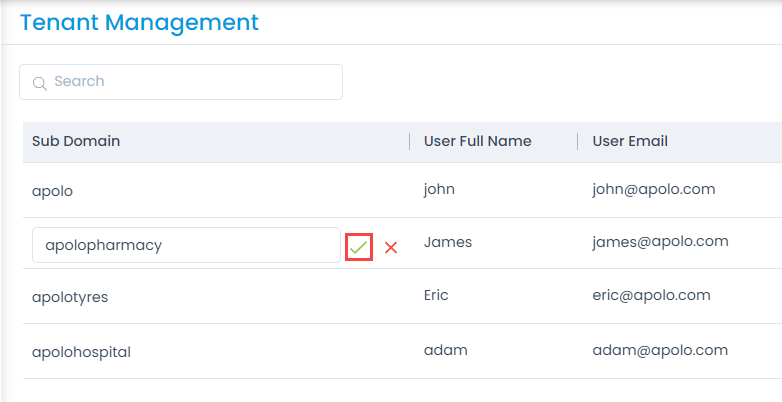
For example: If a company named Apolo has multiple branches like apolotyres, apolohospital, etc., and a ServiceOps instance is required for each branch. You can achieve this, by creating tenants (apolotyres, apolohospital) under a default tenant (apolo). Once a tenant is created, you cannot delete it. However, you can disable or edit it. Also, the changes made in one tenant will not affect the parent company and vice versa. All the tenants are independent of each other.
Notes:
- This feature is available only if the option Multitenant is enabled in the license.
- A license can either contain Managed Services Provider or Tenant Management feature enabled, but not both.
- Currently, the Tenant Management feature is not supported in the SaaS application.
To use this feature:
- First enable the Multitenant option in the License. The sub-menu Tenant Management will become available in the Organization menu.
- Open the Tenant Management page and create a tenant.
- Once the tenant is created, access it using the Preferred URL configured at the time of creation.
- When accessing the tenant for the first time, the user is required to change the password.
- You can now use the tenant and perform the required configurations.