Motadata Docs

Mac-OS Agent Installation Guide

Describes Installation Steps for Motadata MacOS Agent.

System Requirements

Target Machine OS:

  • macOS High Sierra 14 above

Mac OS (64bit) (Intel/M1): Click Here

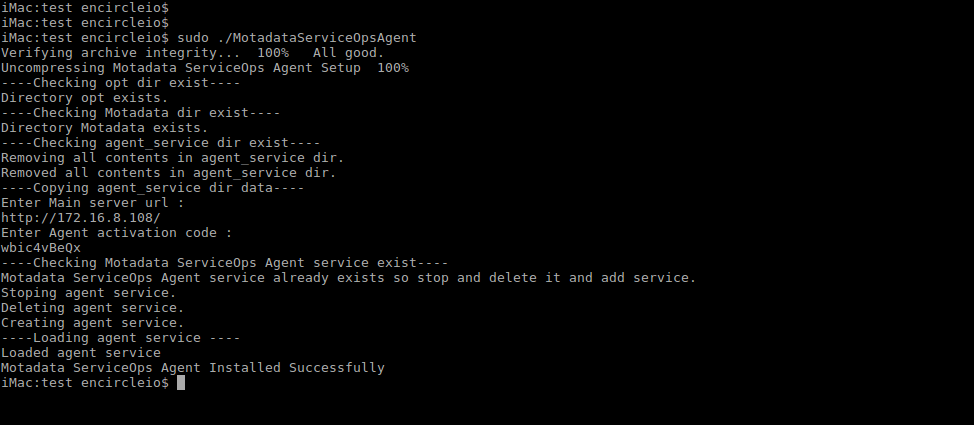
Installation in Mac OS

  1. Download the latest Mac agent file from the given link.
  2. Open terminal and change directory to where the agent file is downloaded.
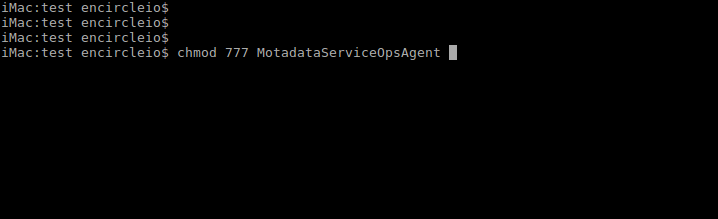
  3. Check the permissions of the Mac Agent file whether it is executable. If not, run the following command.
    sudo chmod 777 MotadataServiceOpsAgent
Permissions
Permissions
  1. Now run the Mac agent file using the following command:sudo ./MotadataServiceOpsAgent
Run the Mac Agent File
  1. The installation process will begin, and it will ask for the URL of the main server.
Note: You can get the activation code from Motadata ITSM tool in Admin > Account (under Organization).
Installation
Installation
Installation
Installation
  1. The installation process will complete after providing the URL.
Installation Process Complete

Uninstall Mac Agent

Open Terminal and follow the below mentioned commands:

  • Stop Agent Service:sudo launchctl unload /Library/LaunchDaemons/com.motadataserviceops.agent.plist
Stop Agent Service Command
  • Remove Agent Service:sudo rm /Library/LaunchDaemons/com.motadataserviceops.agent.plist
Remove Agent Service Command
  • Delete Agent dir:sudo rm -rf /opt/Motadata
Delete Agent Directory Command