Hardware Asset Details Page
On the Asset Details page, you can view the complete details of the asset and perform the desired activity. To view the Asset Details page, on the Asset List page click on the subject line, and the below page appears.
On the Asset Details page, you can view the complete details of the asset and perform the desired activity. To view the Asset Details page, on the Asset List page click on the subject line, and the below page appears.
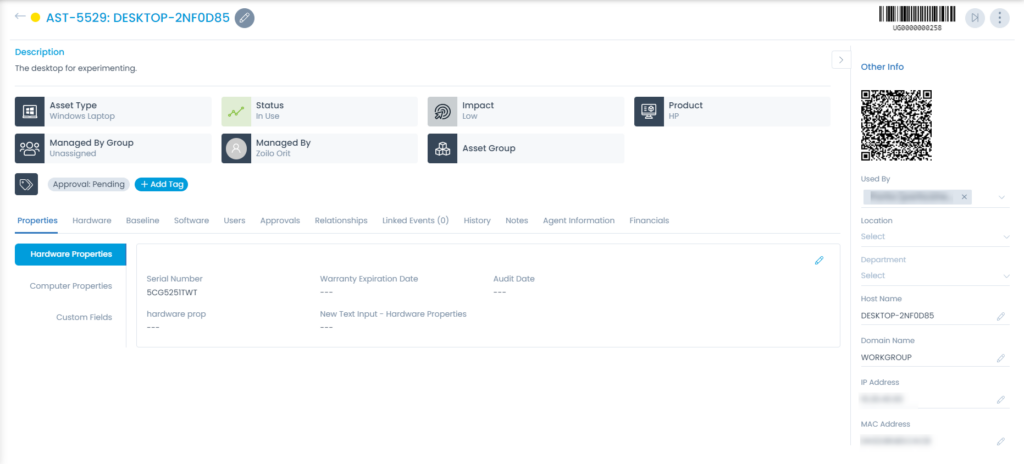
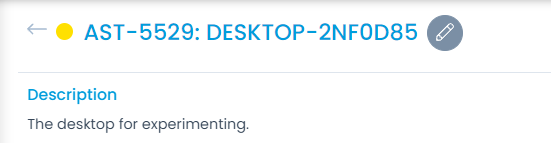
You can view the complete subject and description on the top of the details page. You can also edit it by clicking on the Pencil icon, if required.
These properties tell you the current statistics of the asset and help you to classify them under different labels. When someone works on an asset, the person updates the labels accordingly. For e.g. if the ‘status’ is closed, it means you have nothing to do on the asset.

| Parameter | Description |
|---|---|
| Asset Type | This label classifies the name of the asset type. |
| Asset Type | This label classifies the name of the asset type. |
| Status | This label classifies the asset based on the status. The default options are: In stock, In use, Missing, and Retired. |
| Impact | This label classifies the asset based on the impact factor. The default values are: Low, On Users, On Department, and On Business. |
| Product | This label classifies the asset based on the product. You can also change it and search for your desired products in the dropdown. |
| Managed By Group | This label displays the group which manages the particular asset. You can also change it and search for the desired group in the dropdown. |
| Managed by | This label displays the name of the person who is to manage the asset. You can also change it and search for the desired person in the dropdown. |
| Asset Group | This label displays the Asset Group in which the asset belongs. You can also change it and search for the desired group to associate. |
| Add Tags | You can add the custom tags to quickly find the assets based on it. Also, system adds some default tags when based on certain labels and actions. |
You can create or update different actions and activities as a part of communication, collaboration, and resolution in the asset. The available types of actions are:
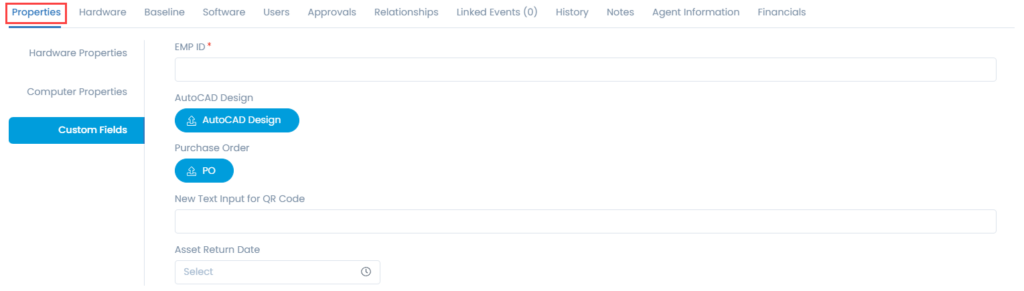
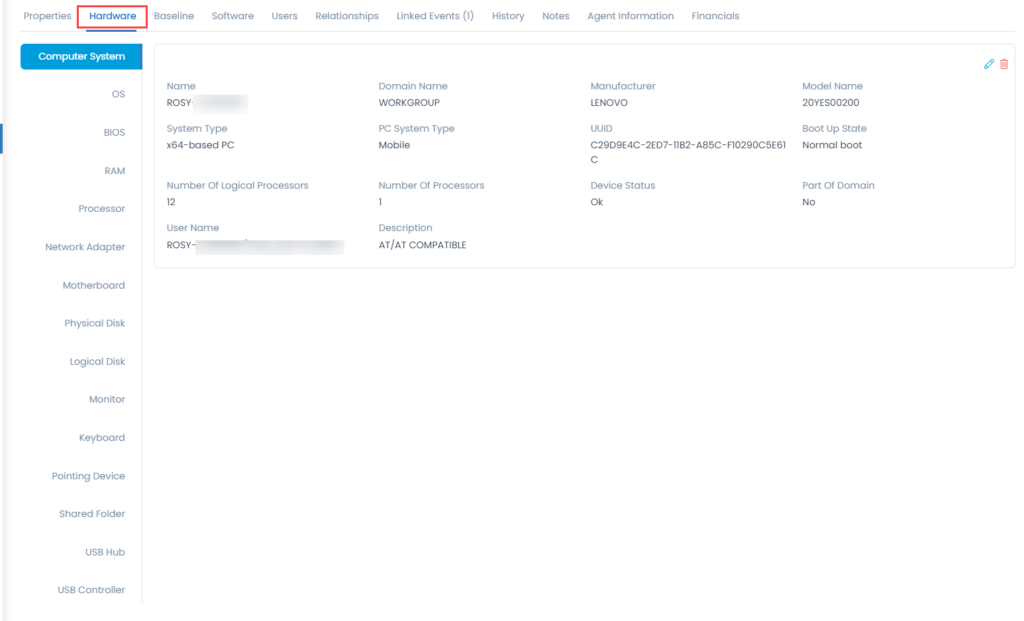
This displays the hardware and computer properties of the asset. You can also add the same manually.

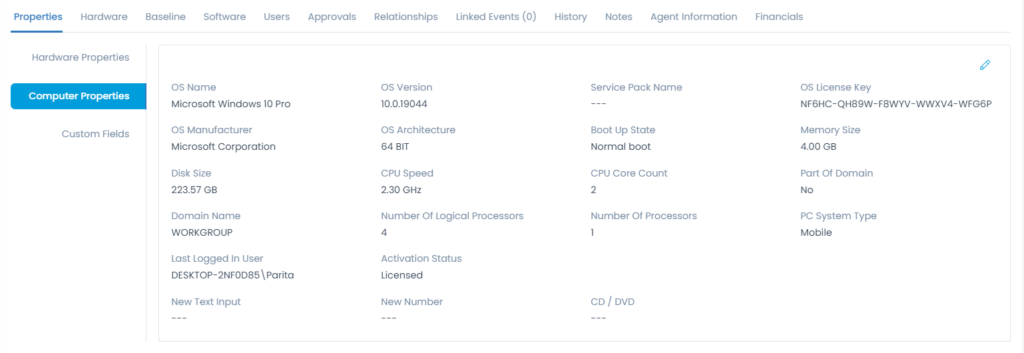
This displays all the hardware properties of the asset. You can also manage these details manually. The properties include basic as well as memory classifications with its version, memory, disk availability, etc.
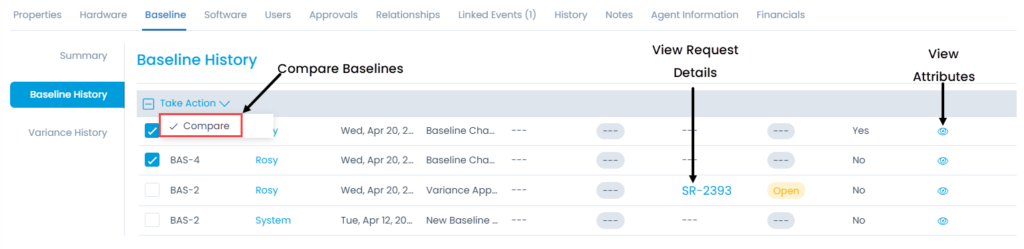
This displays the baseline associated with the asset and the variances detected.
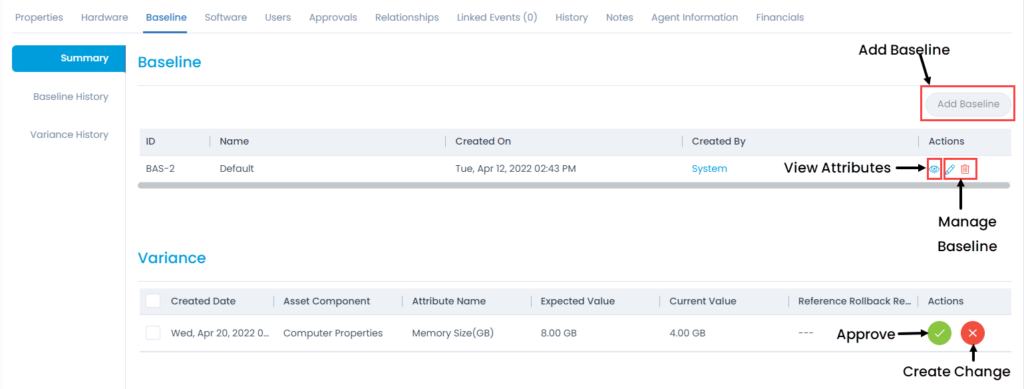
Here, you can perform the following actions:
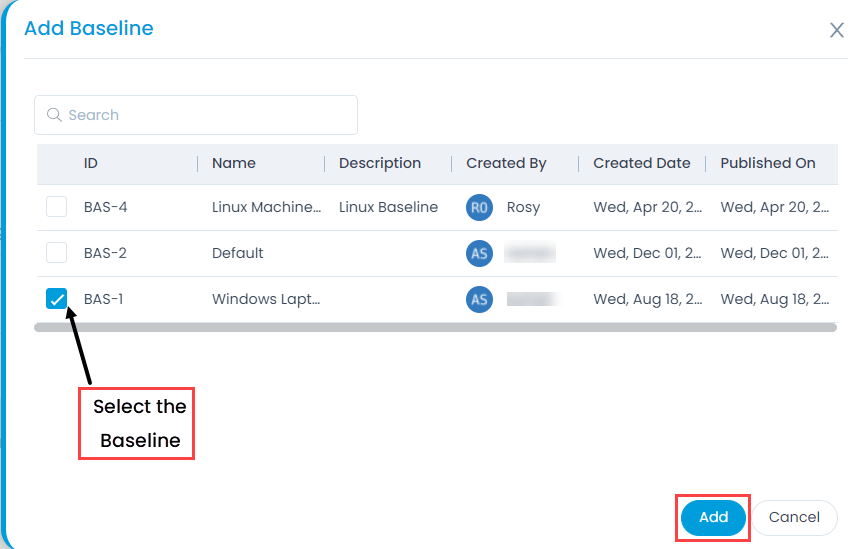
To add a baseline,

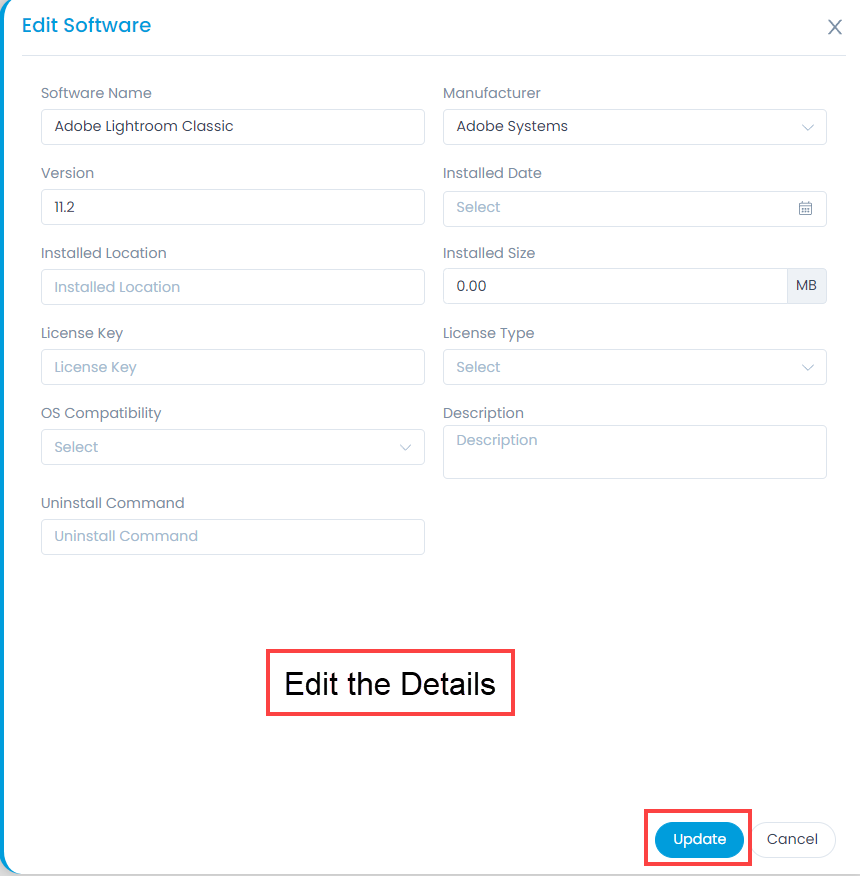
This displays a list of software added in the asset. You can view and manage all the software properties of the added asset. The properties include the version, manufacturer, installation date, and components. You can input the details manually also.
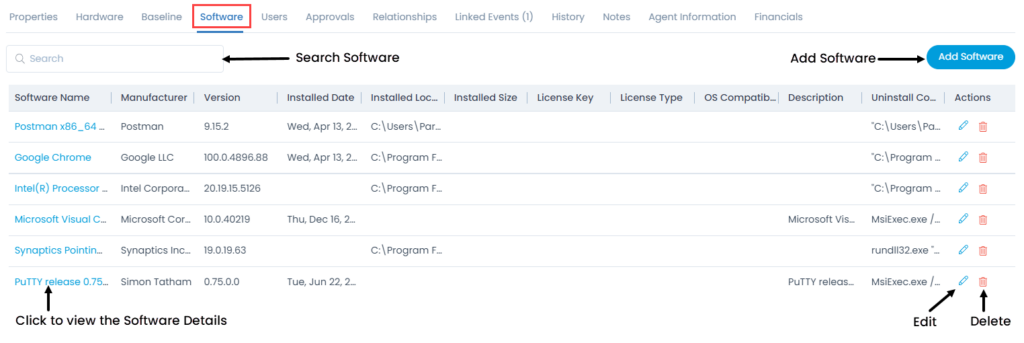
Here, you can do the following:
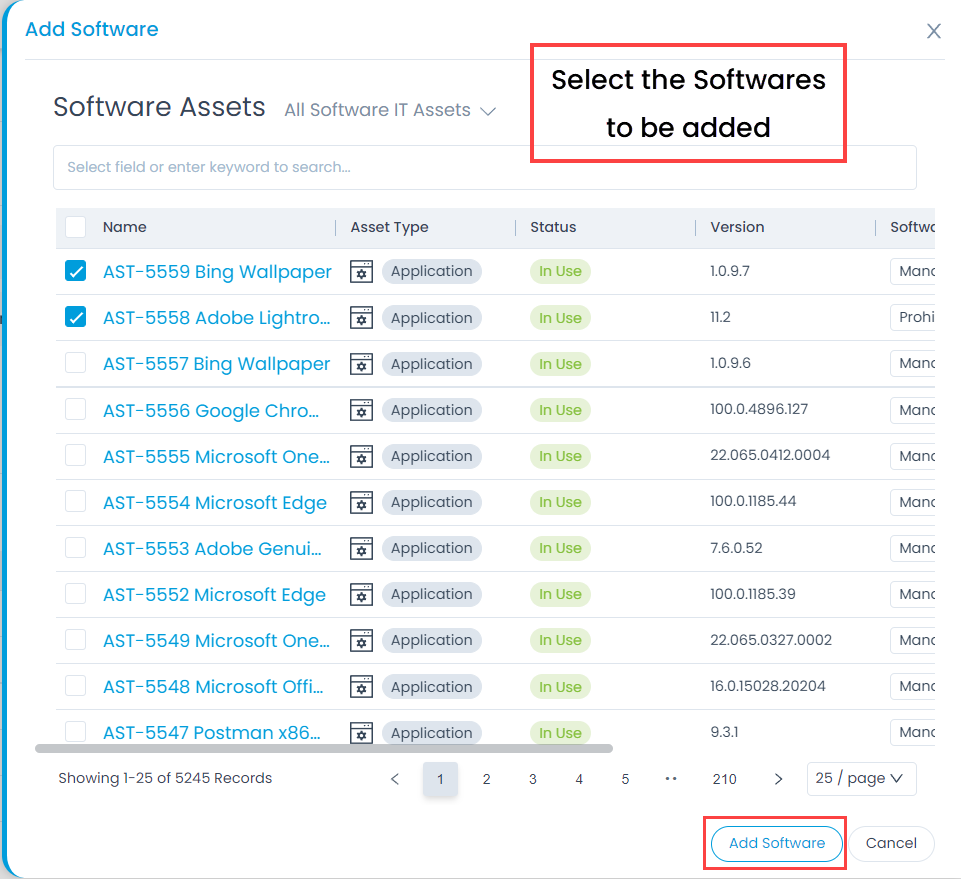
To add a software,
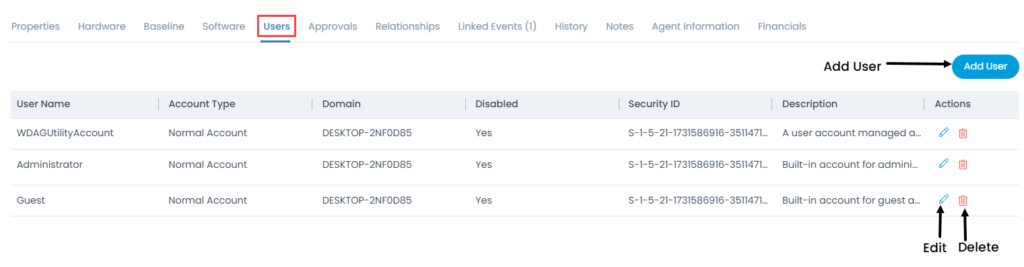
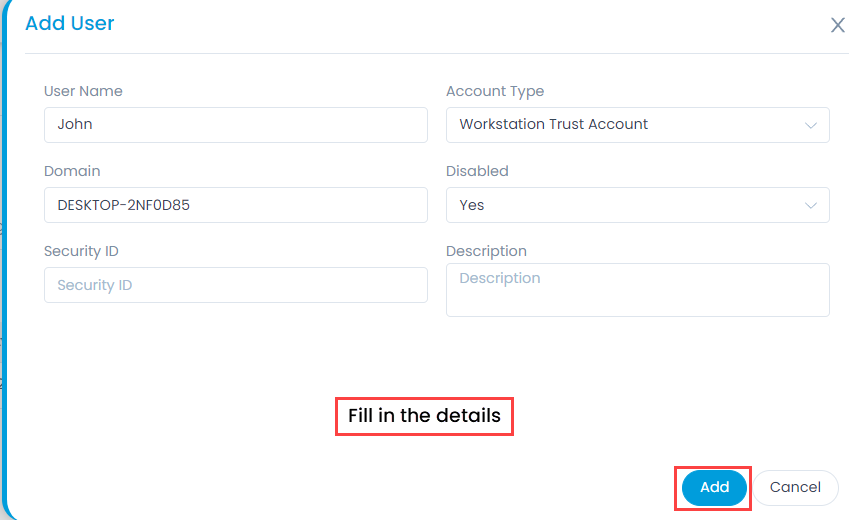
This tab allows you to view and manage users of the asset. You can also add the users by clicking the Add User button, filling in the details, and clicking the Add button as shown in the below-right figure.
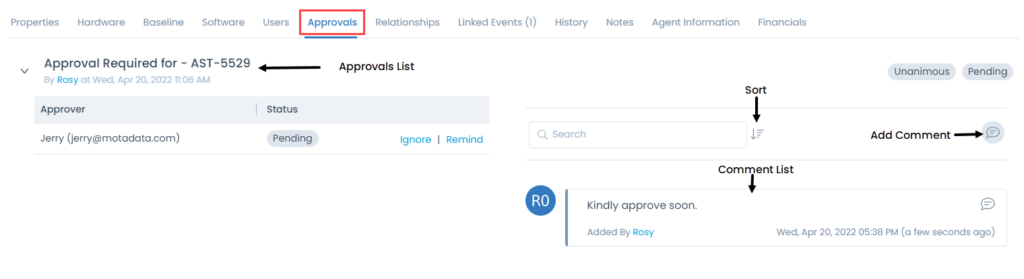
This displays a list of pending approvals. You can ignore the approval if no longer needed, or can remind the approver to take an action on it. You can also add comments if required. If there are multiple comments, you can search and sort them in ascending or descending order.
This allows you to view and manage the relation of this particular asset with other assets. The relation is represented pictorially for better understanding and visuals as shown below.
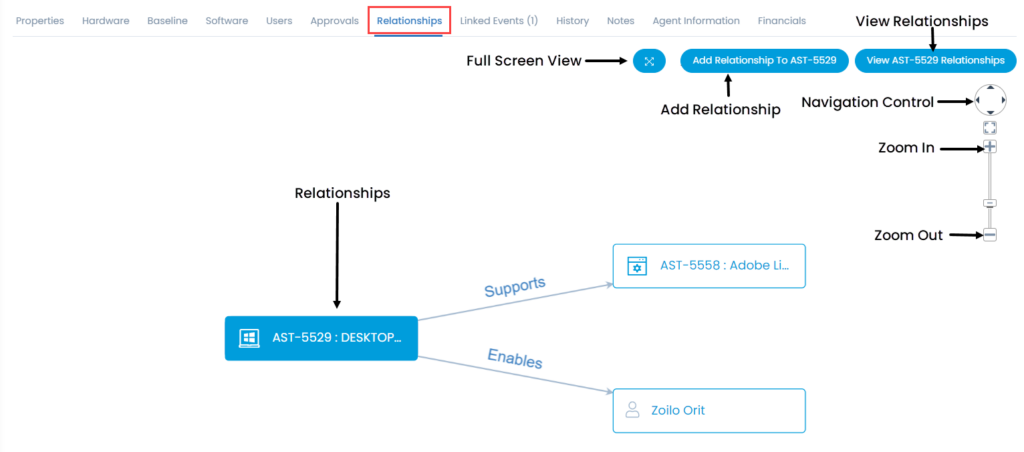
Here, you can add and view a list of relationships by clicking the View Relationships button.
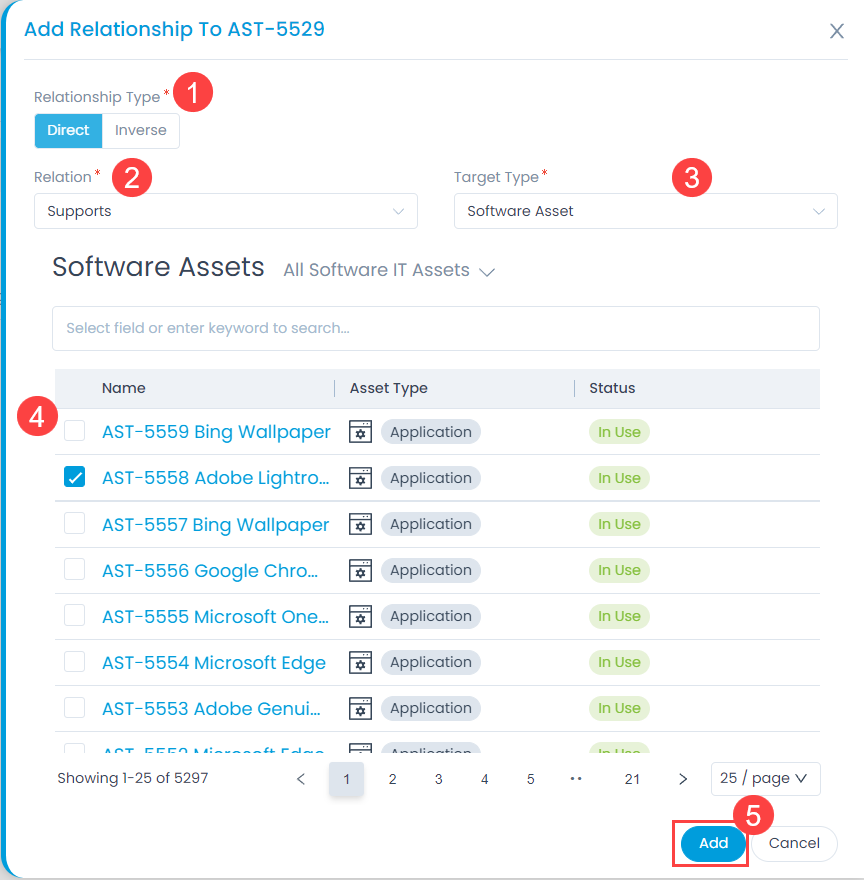
To add a relationship,

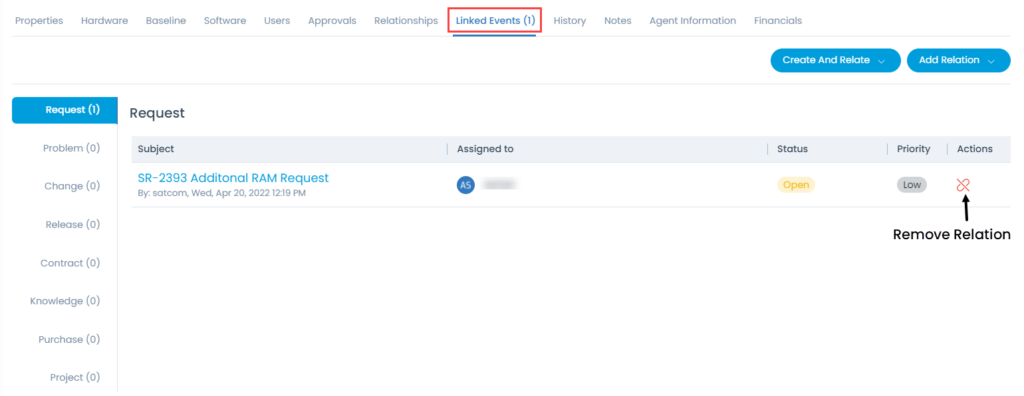
This allows you to view link, create, or relate the existing asset to various Requests, Problems, Changes, Releases, Contracts, Knowledge, Purchases, and Projects. Here, the count of the linked entities will also be shown.
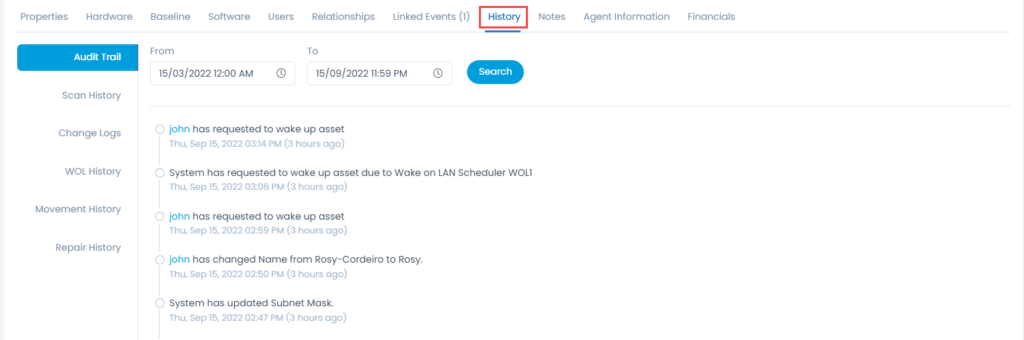
You can view and search the Audit Trail, Scan History, Change Logs, WOL History, Movement History, and Repair History for the asset.
You can add notes for future reference.

You can view the agent details through which the asset is added.

This displays the costing and depreciation details of the asset.
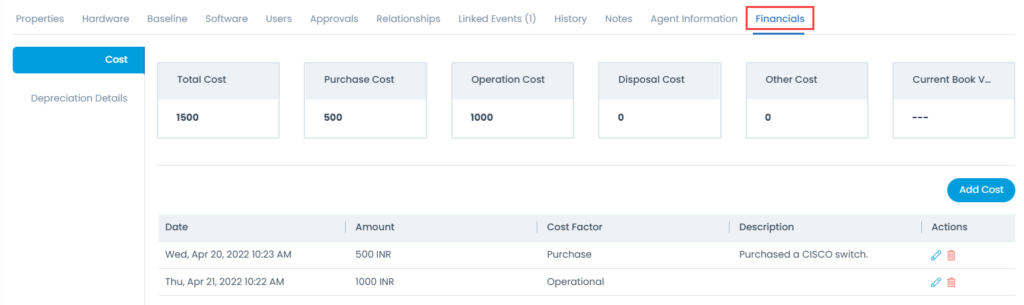
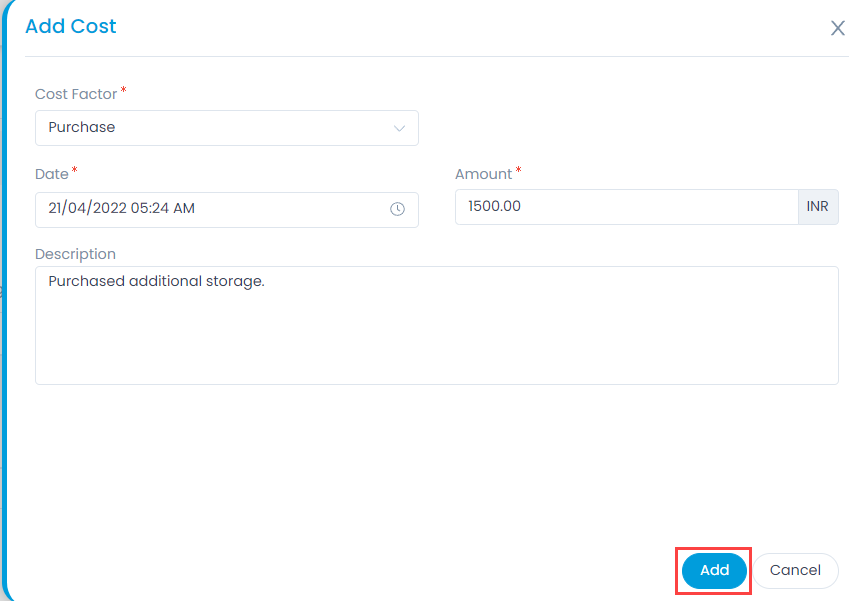
Cost: Displays the cost of the asset. You can also add, edit, and delete the cost.
To add cost,
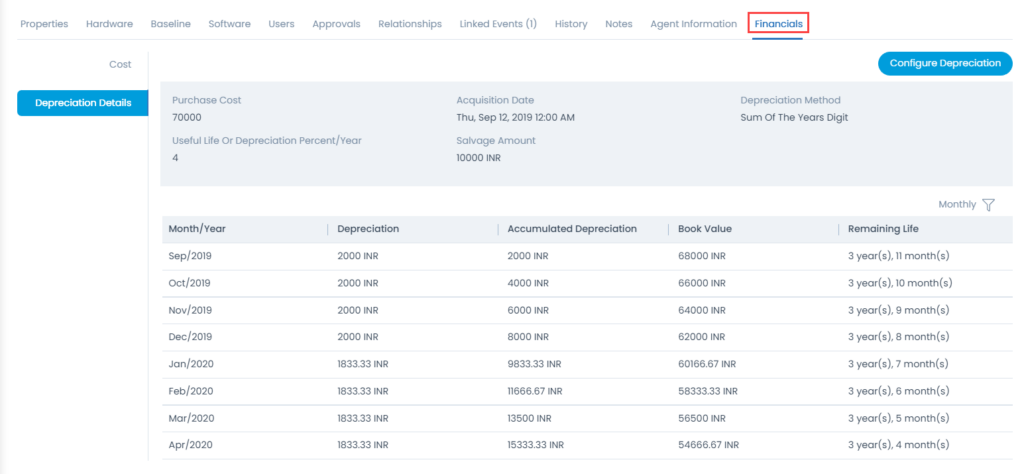
Depreciation Details: Displays the depreciation details of the asset. You can also configure the depreciation method and amount to be used.
The value of every purchased asset reduces over a period of time. Calculating the depreciation of such assets is vital while creating the financial report.
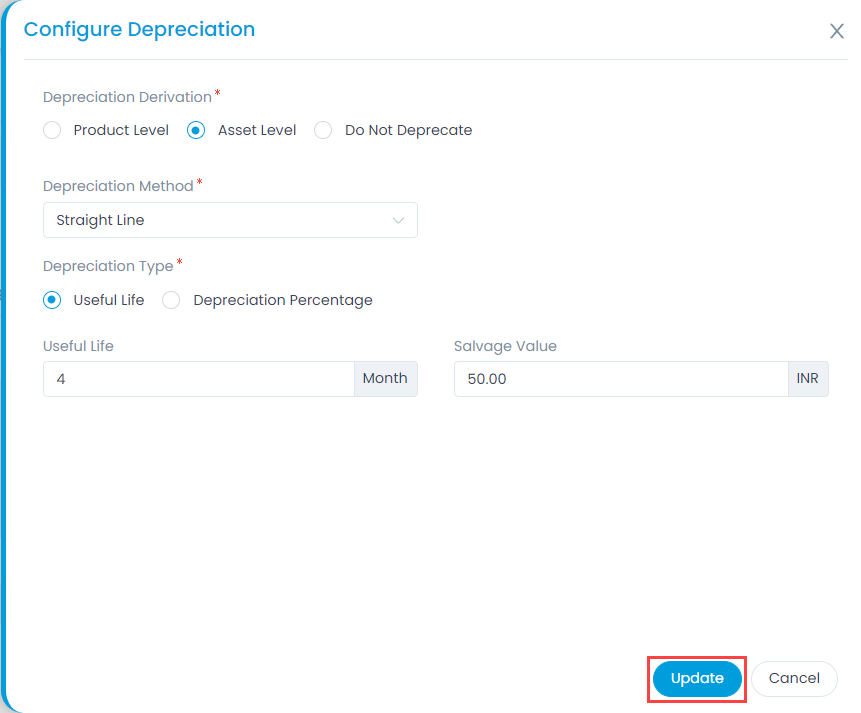
ServiceOps provides 4 methods to calculate asset depreciation. You can configure these at two levels: Product Level and Asset Level.
To configure depreciation:
The other information shows additional details about the asset.
