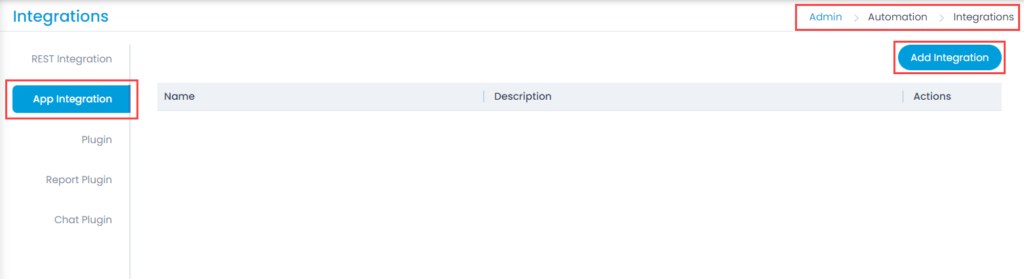
Motadata Docs

App Integration

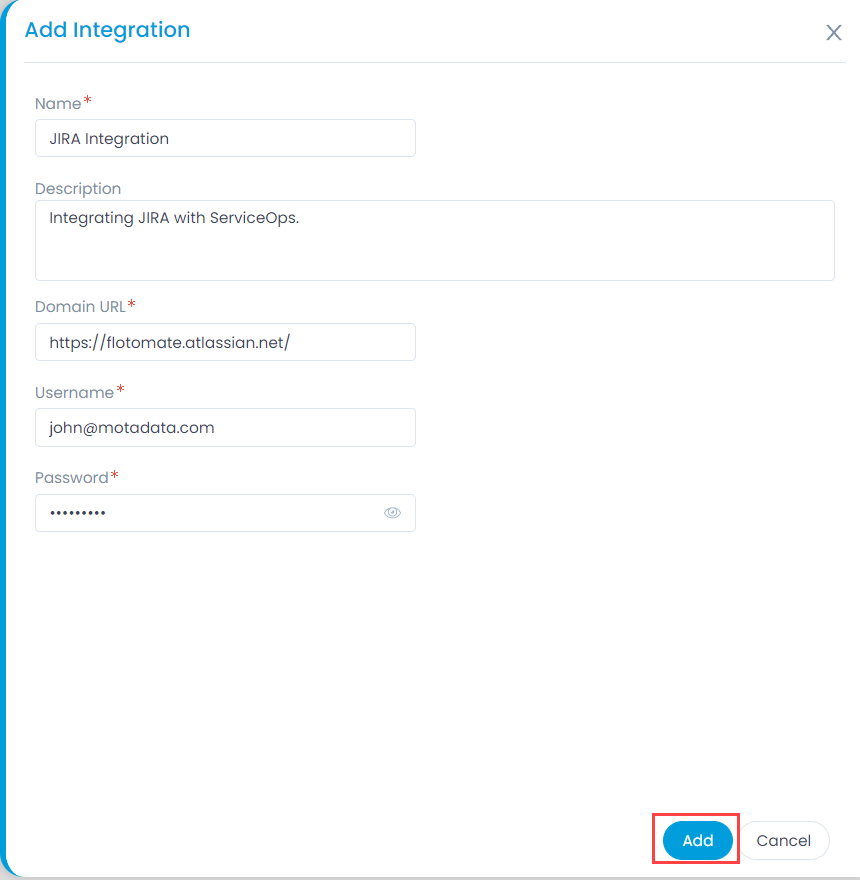
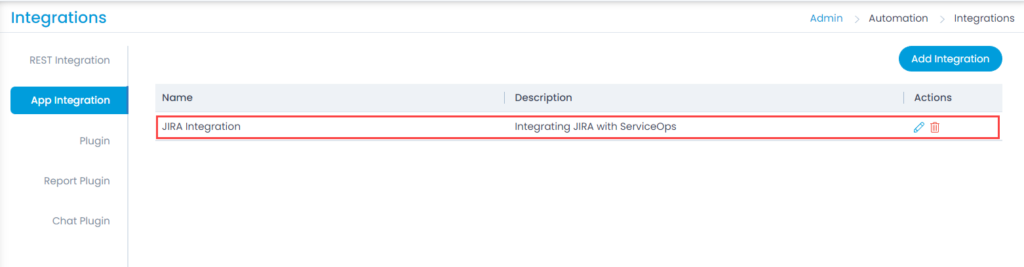
This tab enables you to integrate the JIRA software with ServiceOps.

What is JIRA?

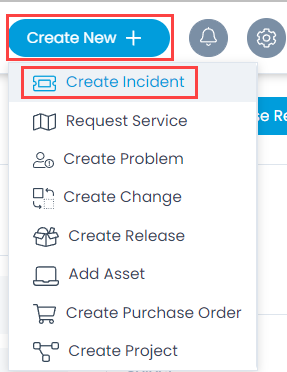
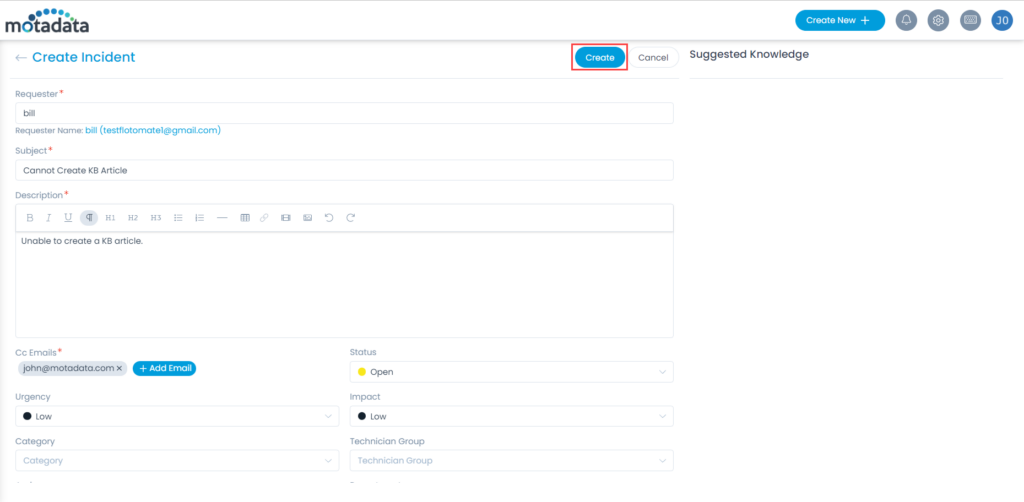
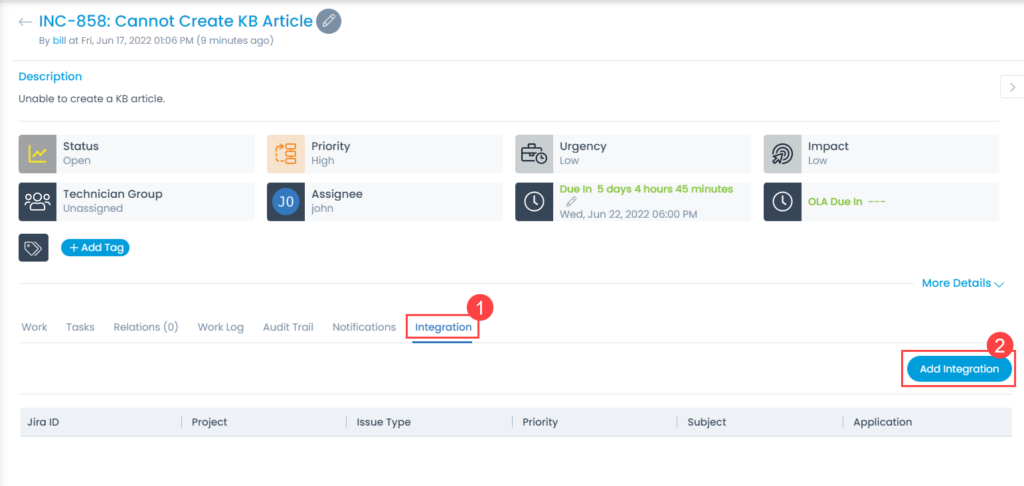
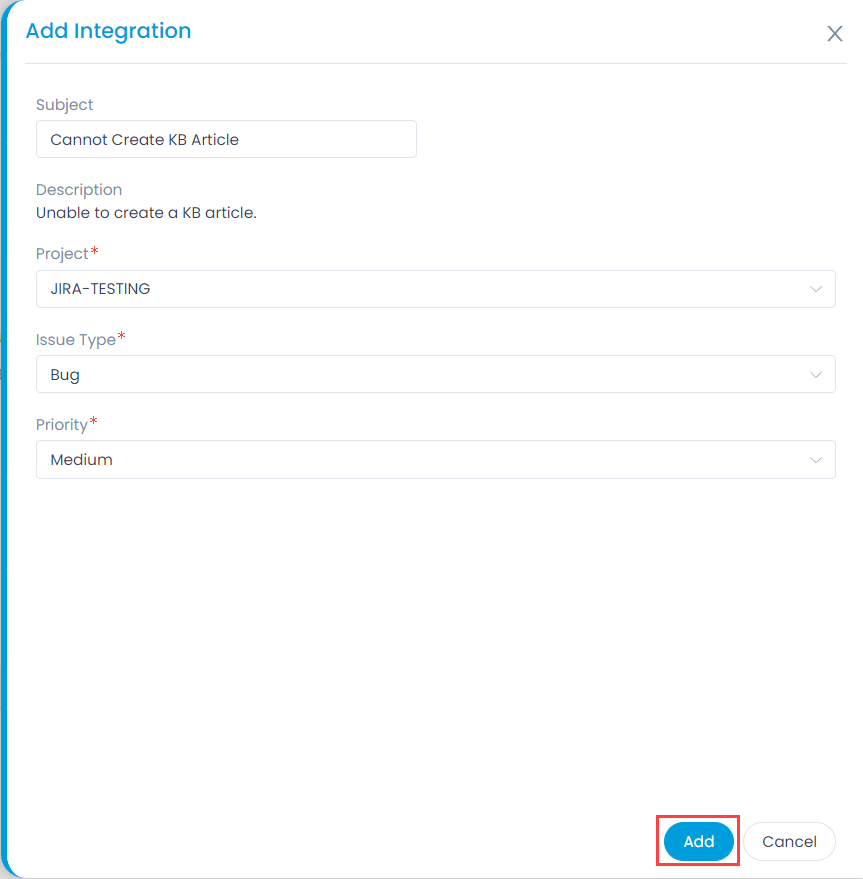
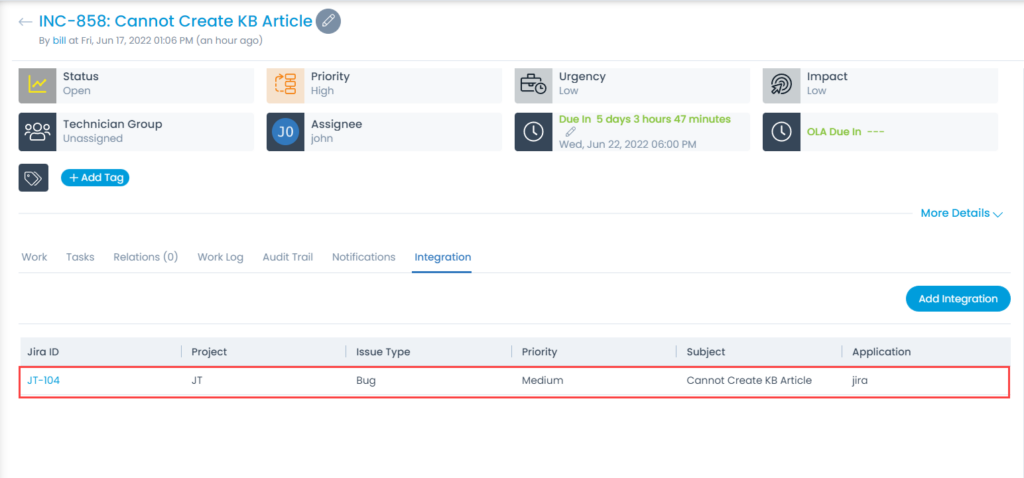
JIRA is a software tool from Atlassian used for managing the project tasks, bug tracking, and other issues related to the software applications. Using ServiceOps for issue creation and management will become easier if you integrate JIRA with ServiceOps. Once integrated, you can generate project-wise tickets related to the issue types like bugs and new features from ServiceOps itself. Thus, you do not need to sign-in to the JIRA software and create the tickets specifically.

Note: This functionality is available from version 7.2 onwards.

Prerequisites

  • SSL certificate should be installed.
  • JIRA, whether hosted on cloud or on-premise should have reachability from the ServiceOps server/VM.
  • User should have a JIRA account.

Configuring JIRA in ServiceOps

To configure JIRA within ServiceOps, follow the below steps:

  1. Sign In to the ServiceOps portal.
Sign In Page
Sign In Page
  1. Click the Admin Settings icon on the top-right corner of the screen and navigate to Automation > Integrations > App Integration tab.
App Integration Tab
App Integration Tab
  1. Click Add Integration, and a popup appears.
Add Integration Popup
    Enter the following details:

    • Name: Enter the name of integration.
    • Description: Enter the description of integration.
    • Domain URL: Enter the domain URL of the app to be integrated.
    • Username: Enter the username of the user holding a JIRA account.
    • Password: Enter the password.
      Once done, click Add, and it appears in the table as shown below.

Notes:

  • Only one JIRA Integration is allowed.
  • Only one issue can be created from a single request.
JIRA Integration added
  1. Now to create an incident, click Create New +, and select Create Incident.
  2. The Create Incident page appears.
Create Incident Option
Create Incident Page
    • Enter the following details:

    • Requester: Select the requester’s name of the incident.
    • Subject: Enter the subject of the incident.
    • Description: Enter the description of the incident.
    • Cc Emails: Add the Email Address of the users whom you want to copy.
      Once done, click Create.
  1. On the List page, click on the Subject, and open the Details page.
Incident Details page
  1. Navigate to the Integration tab and click Add Integration. The following popup appears.
Add Integration page
    Provide the following details:

    • Project: Select the project related to the incident.
    • Issue Type: Select the type of issue. The options are: Sub-Task, Epic, Tech-Story, New Feature, Task, Story, Bug, and Improvement.
    • Priority: Select the priority of the issue. The options are: Highest, High, Medium, Low, and Lowest.
      Once done, click Add, and the issue gets created as shown below.
Created Issue
Created Issue

Here, you can click the JIRA ID, and review the created issue in the JIRA, as shown below.

Issue Created In JIRA