Motadata Docs

Create Patch Deployment

This page enables you to create a new Patch Deployment when planned. To do so,

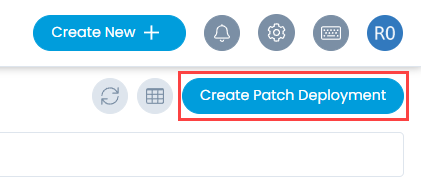
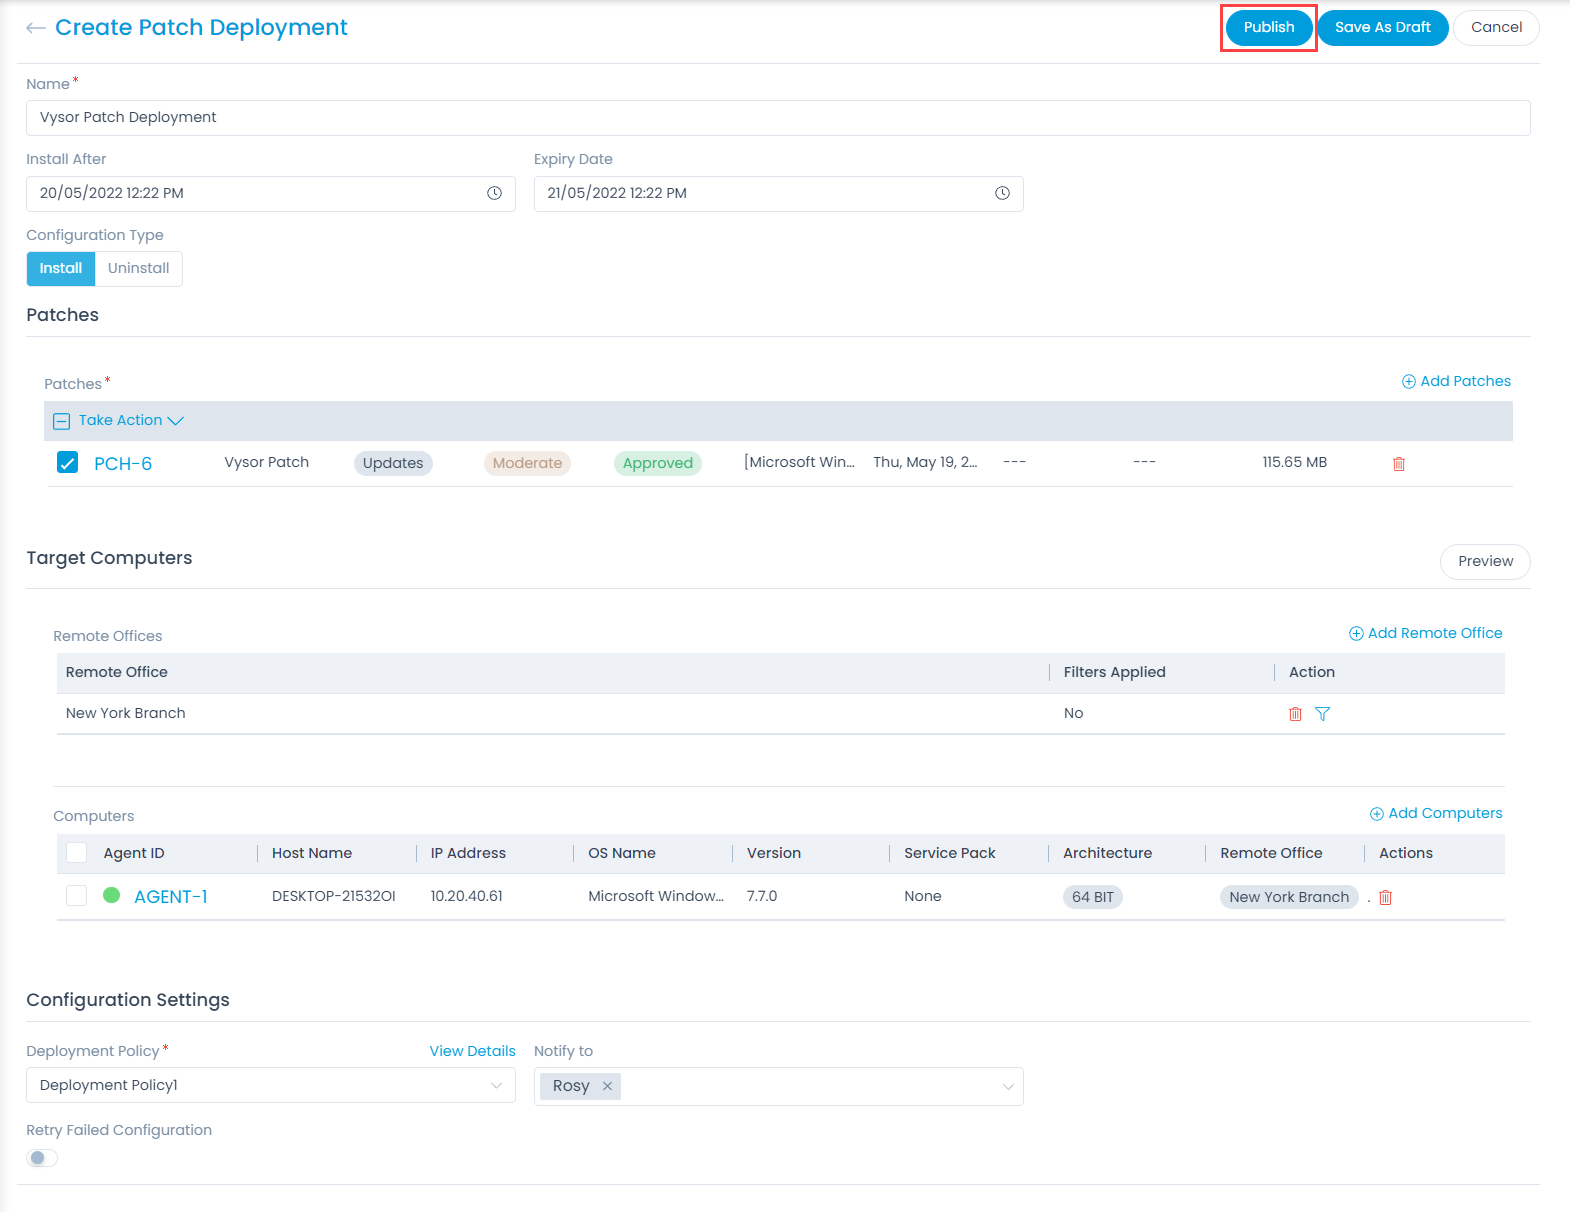
  1. Click the Create Patch Deployment button on the top-right corner of the list page. The Create Patch Deployment page appears as shown below. This also appears when Deploy Patch action is selected from the Patch Details page.
Create Patch Deployment button
Creating Patch Deployment
  1. Enter the following details:
    • Name: Enter the name for patch deployment.
    • Install After: Select the date after which the patch should be deployed.
    • Expiry Date: Select the expiry date till which the patch can be deployed.
    • Configuration Type: Select the type of patch deployment as Install or Uninstall. If Install is selected, the patches available for installation are displayed in the Add Patches section. If Uninstall is selected, the patches that are already installed and can be uninstalled are available.

      Notes:
      For Mac OS

      • The patch management is supported for Mac OS version 10 and above.
      • Provide the system password in the agent after update. If the password is not provided within 60 seconds, the patch upgrade process will get failed.
      • Uninstall configuration is not supported.
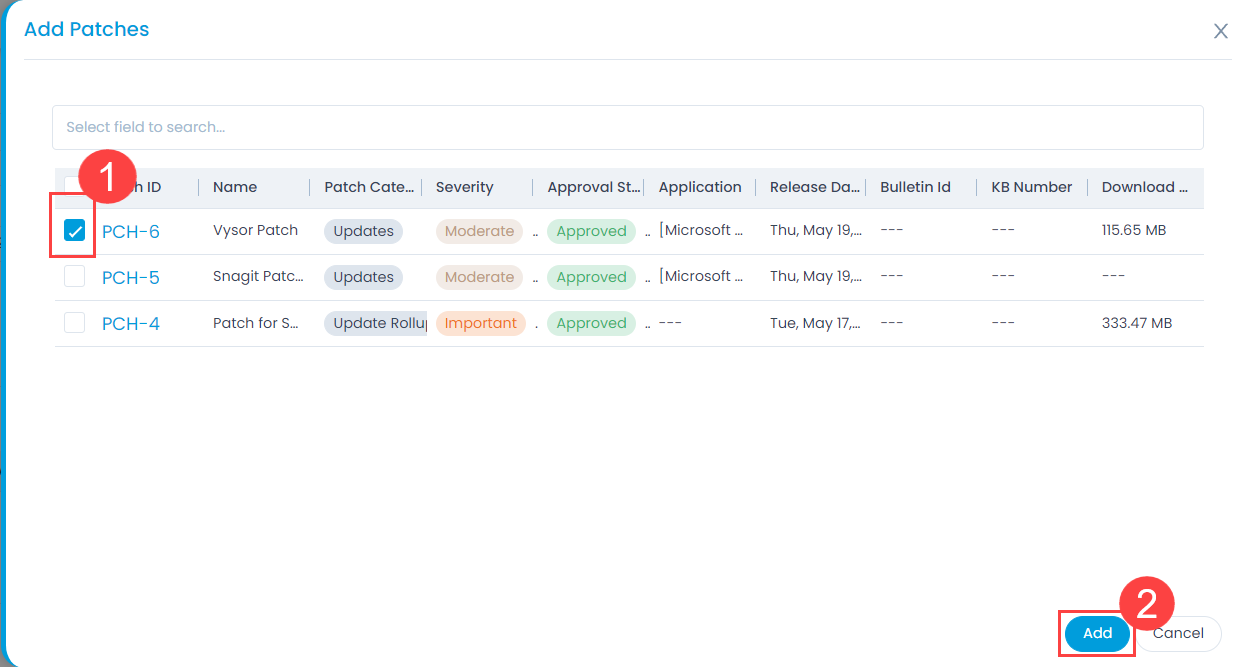
  1. In the Patches section, add the patches to be deployed using the Add Patches link. To do so,
    • Click the link and the Add Patches popup appears.
    • Select the desired patches and click Add. The patches will appear in the Patches list.
Adding Patches
Adding Patches
  1. In the Target Computers section, add the Remote Offices and Computers.
    Remote Offices
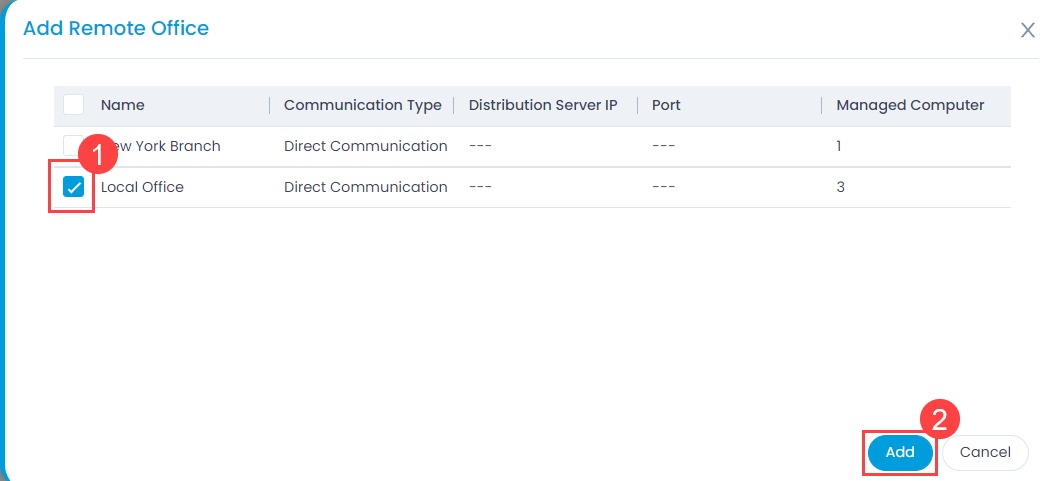
    To add remote offices,

    • Click the Add Remote Office link and a popup appears.
    • Select the desired offices and click Add.
Adding Remote Offices

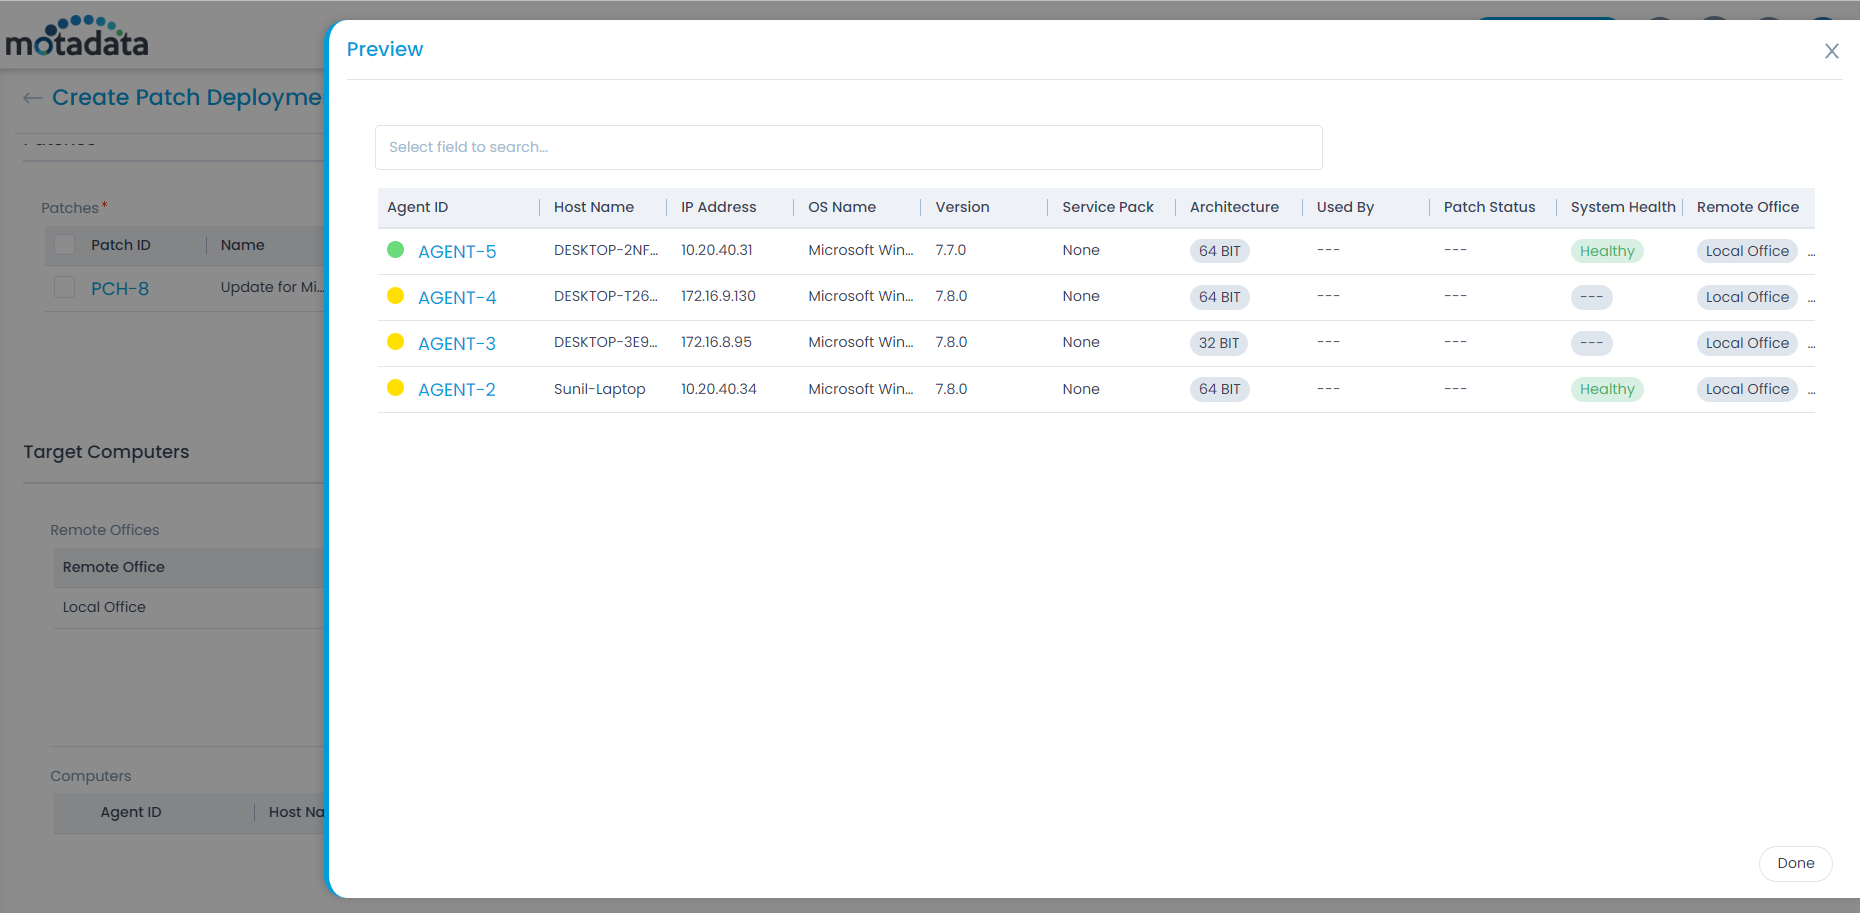
You can also preview the list of computers associated with the Remote office by clicking the Preview button. This button becomes available once the remote office(s) is added.

Preview of the Remote Office

Computers

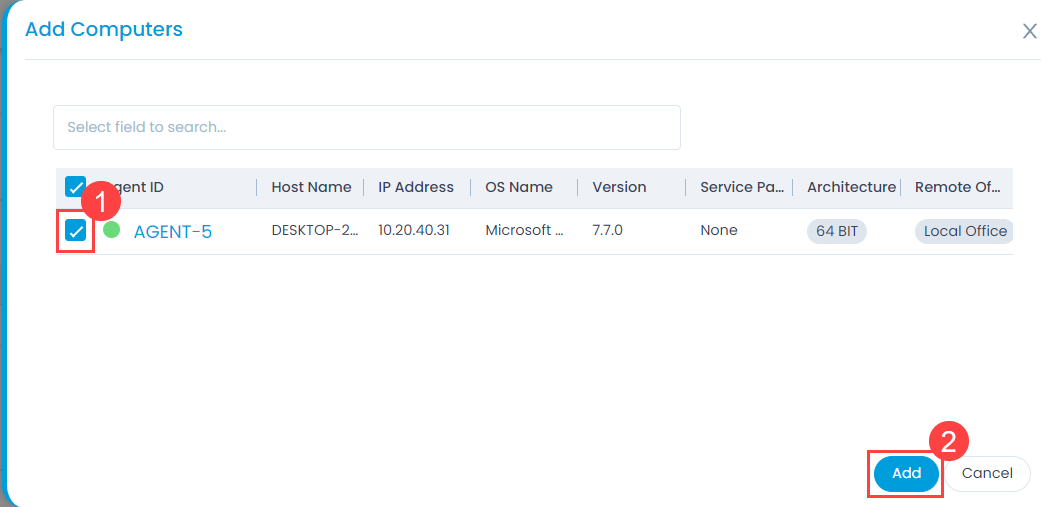
    To add computers,

    • Click the Add Computers link and a popup appears.
    • Select the desired computers and click Add.
Add Computers
Add Computers
  1. In the Configuration Settings section, set the following parameters:
    • Deployment Policy: Select the policy as per which the deployment should take place.
    • Notify To: Select the technician to whom you want to send the email notification about the deployment status. The email contains the details of the partially installed patches also.
    • Retry Failed Configuration: Enable the parameter and specify the number of times the configuration should be retried in case it is failed. By default, it is disabled.
  2. Once all the configurations are done, either click Publish to publish the deployment or click Save As Draft to save it and publish later. If required, you can also click Cancel to stop the patch deployment process.
    Once published, the status of the patch deployment changes to Ready to Deploy and the Installation Status becomes Yet to Receive. This status changes as and when the installation process moves further.

On this Page