Motadata Docs

Ordering PO to Vendor

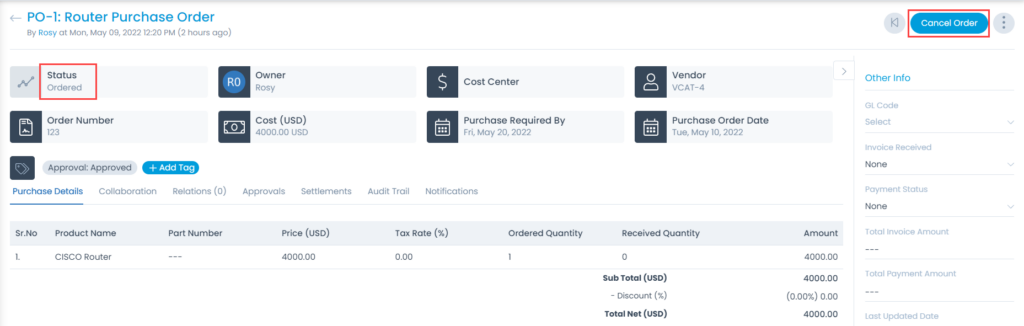
This option enables you to place an order to the vendor once the PO is generated. To do so,

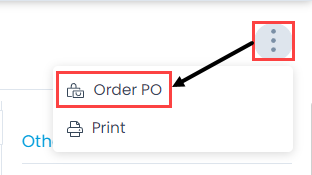
  1. Go to the Purchase Order Details page and click the Options icon (vertical three dots) on the top-right corner of the page.
  2. Click on Order PO and a popup appears.
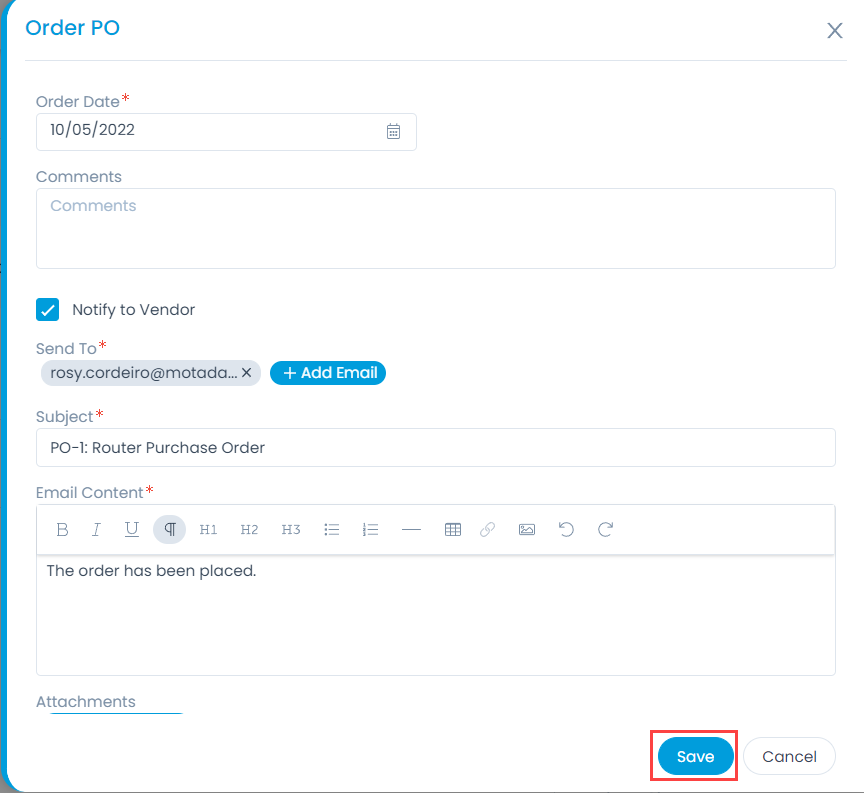
  3. Enter the following details:
    • Order Date: Select the Order Date.
    • Comments: Enter the comments or notes for the vendor.
      Notify to Vendor: Enable if the vendor is to be notified about the order. If disabled, the below fields are unavailable.
    • Send To: Add the email addresses of the people to whom the email notification is to be sent using the Add Email button.
    • Subject: Displays the subject of the order. If required, you can change it.
    • Email Content: Enter the content of the email.
    • Attachments: Attach the required documents if required.
Order PO
Order PO
Ordering a PO
Ordering a PO
  1. Once done, click Save and a confirmation message appears. Also, the status of the PO changes to Ordered and the Cancel Order button becomes available as shown below.
PO Status Changed to Ordered

Cancel Order

If you do not want a Purchase Order to go ahead and still want to keep the PO details, then you have the option of cancelling it. Cancelled is a defined status in the module which tells a PO is inactive but still viewable. A cancelled PO cannot be uncancelled.

To do so,
Click the Cancel Order button on the top-right corner of the page. A confirmation message appears. Click Yes to continue or No to stop the action. If Yes is clicked, the order gets cancelled, and also the PO status changes from Ordered to Cancelled as shown below.

Cancel Order
Cancel Order
PO Status - Cancelled

On this Page