What Is ITSM Software?
IT service management, or ITSM, is software designed to manage the entire lifecycle of IT services, from initial incident reporting to delivering proactive solutions that enhance efficiency. It assists you with all the procedures and responsibilities required to define, develop, deliver, and manage IT services, with a focus on matching IT services with the demands of your company.
The core principles of ITSM focus on the following areas:
Streamlining Operations for Peak Performance
The first principle of ITSM is aligning IT service processes with the organization’s core objectives. This means ensuring that every IT initiative directly supports organizational goals, enhances customer satisfaction, and delivers measurable value.
By aligning IT efforts with business needs, IT teams can:
- Effectively prioritize resources
- Foster collaboration across departments
- Ensure that IT investments translate into tangible business outcomes
Streamlining Operations for Peak Performance
Efficiency is the cornerstone of ITSM, which focuses on streamlining workflows for core IT operations such as incident management, problem resolution, and change implementation.
This involves eliminating redundancies, automating repetitive tasks, and ensuring swift responses to service disruptions.
Adapting to an Ever-Evolving Tech Landscape
Since the tech landscape is constantly evolving, ITSM’s final principle focuses on continuous improvement to ensure that the process matches the unique pace of this change.
To ensure prompt identification of issues and create a process of continuous improvement, ITSM focuses on regular audits, performance evaluations, and feedback loops. This proactive approach enables IT organizations to anticipate changes, adopt emerging technologies, and consistently deliver services that align with user expectations and business needs.
How Does an ITSM Solution Help You Manage Your Entire It Service Lifecycle?
ITSM provides a structured framework for managing the entire lifecycle of IT services, from planning and design to delivery and support. By implementing effective ITSM practices, organizations can:
Improve IT service quality and user satisfaction
Increase efficiency and productivity of IT teams
Reduce costs and optimize resource utilization
Enhance visibility and control over IT operations
Ensure compliance with industry standards and regulations
Key Pain Points Solved by ITSM Software
An ITSM software is designed to help you address some of the common pain points of managing an extensive IT infrastructure in any modern organization. Some of the top challenges include:
Fragmented IT Processes
Identifying, testing, and deploying patches across various systems manually is time-consuming and susceptible to delays. This method frequently results in extended vulnerability exposure and redirects IT resources away from key strategic initiatives.
Limited Visibility and Control
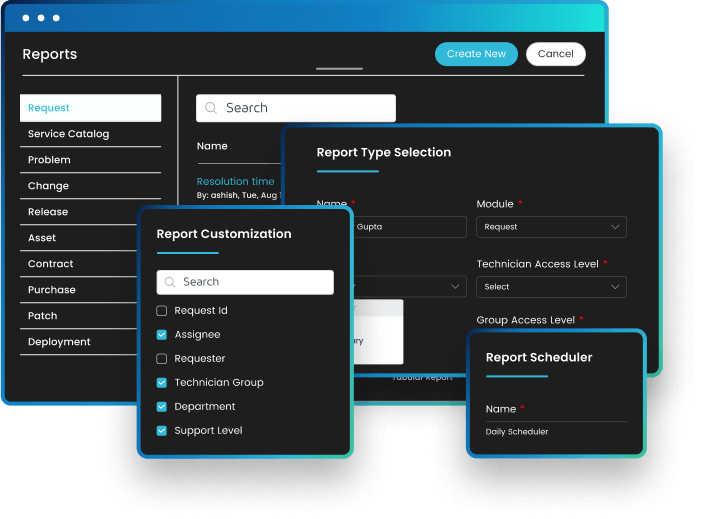
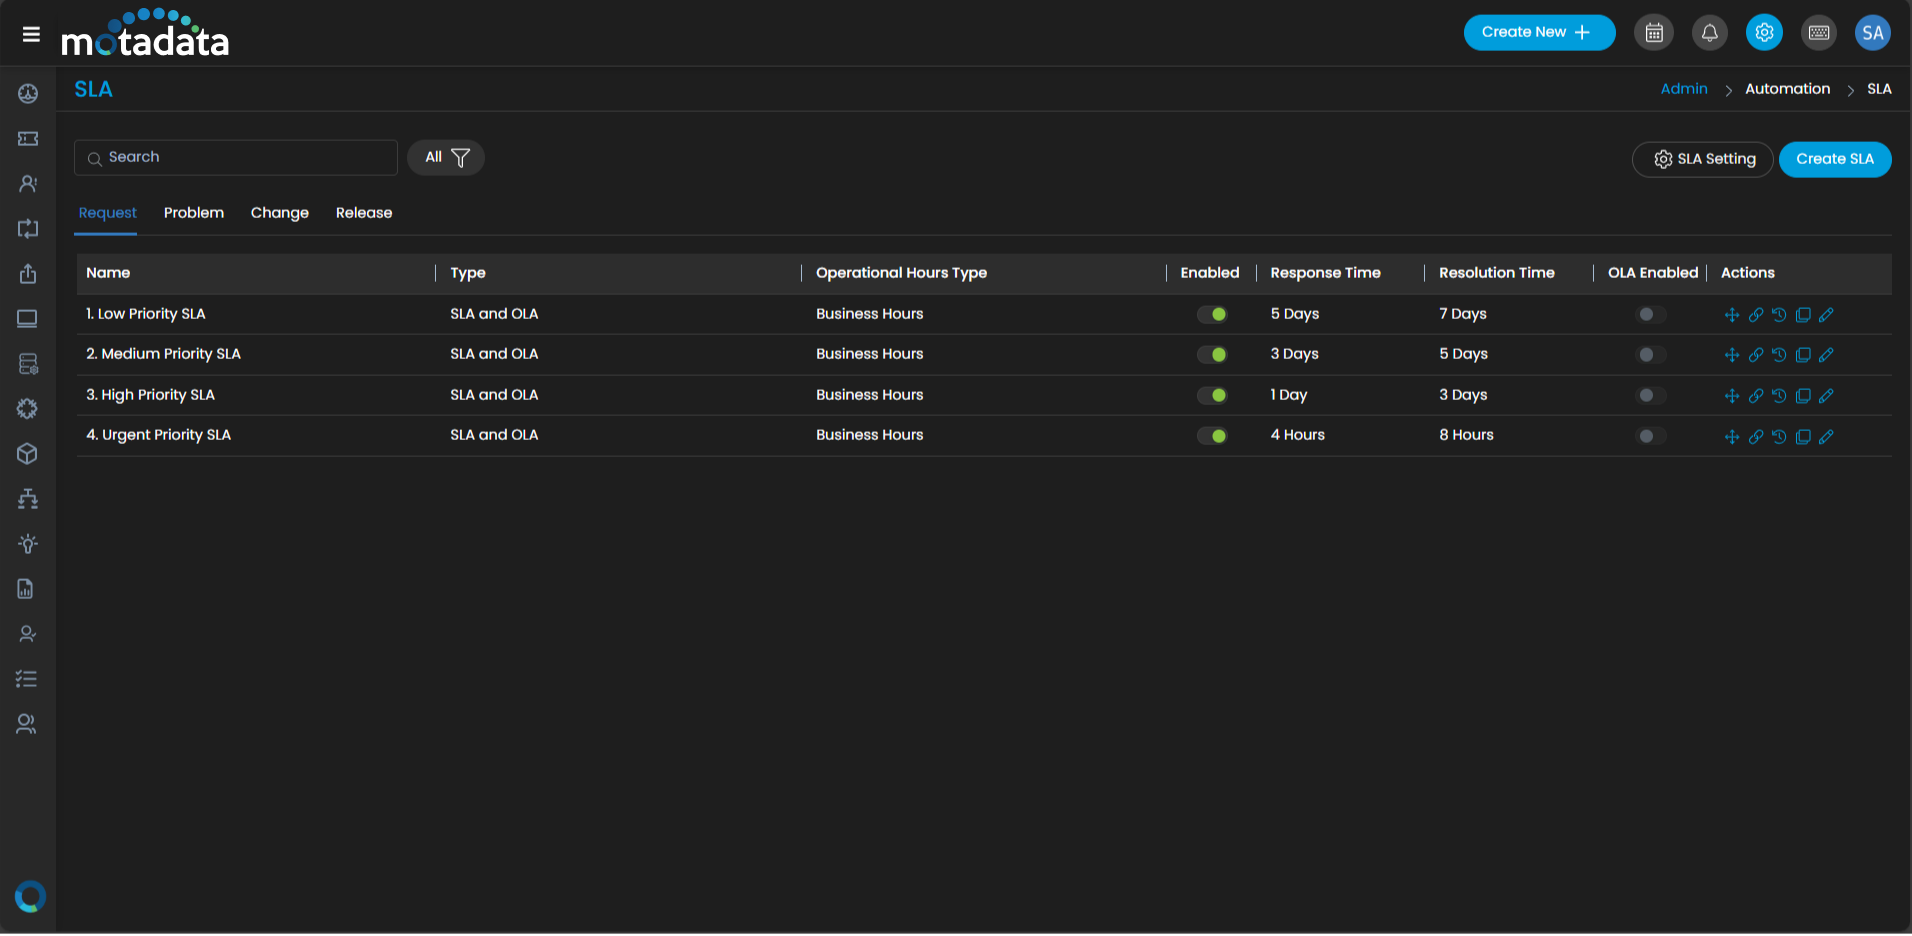
IT teams often lack real-time insights into operations, making it difficult to track performance, monitor SLAs, or identify potential risks. ITSM tools help to track these metrics using real-time dashboards and reporting features, allowing you to gain actionable insights for your decision-making.
Manual Workflows and Delayed Resolutions
Hand-processing events and service requests can lead to errors, hold-ups, and lower productivity. An ITSM platform may help you better prioritize your issues, handle tickets more rapidly, and manage resources by automating this process from beginning to end.
Problems with Compliance and Audits
Organizations may find meeting regulatory requirements challenging and getting ready for audits if their data and processes are disorganized. With integrated audit trails, automatic reporting, and data management guidelines, the appropriate ITSM application helps businesses manage compliance and adhere to industry standards.
Benefits of Using ITSM Software
Adopting ITSM software can have a transformative impact on your organization’s IT operations. Some of the key benefits include:
Key Features and Capabilities of Motadata IT Service Management Software
Motadata ServiceOps offers many features to streamline IT service management and empower IT teams to deliver exceptional service. The key features of our industry-grade AI-powered platform include:
How to Choose an ITSM Tool?
To pick the right IT service desk management software, you must start by analyzing your business goals. The chosen solution should align with the specific needs of your IT teams, providing essential features like:
Simplify IT Operations with ITSM Tool
How to Choose an ITSM Tool?
-
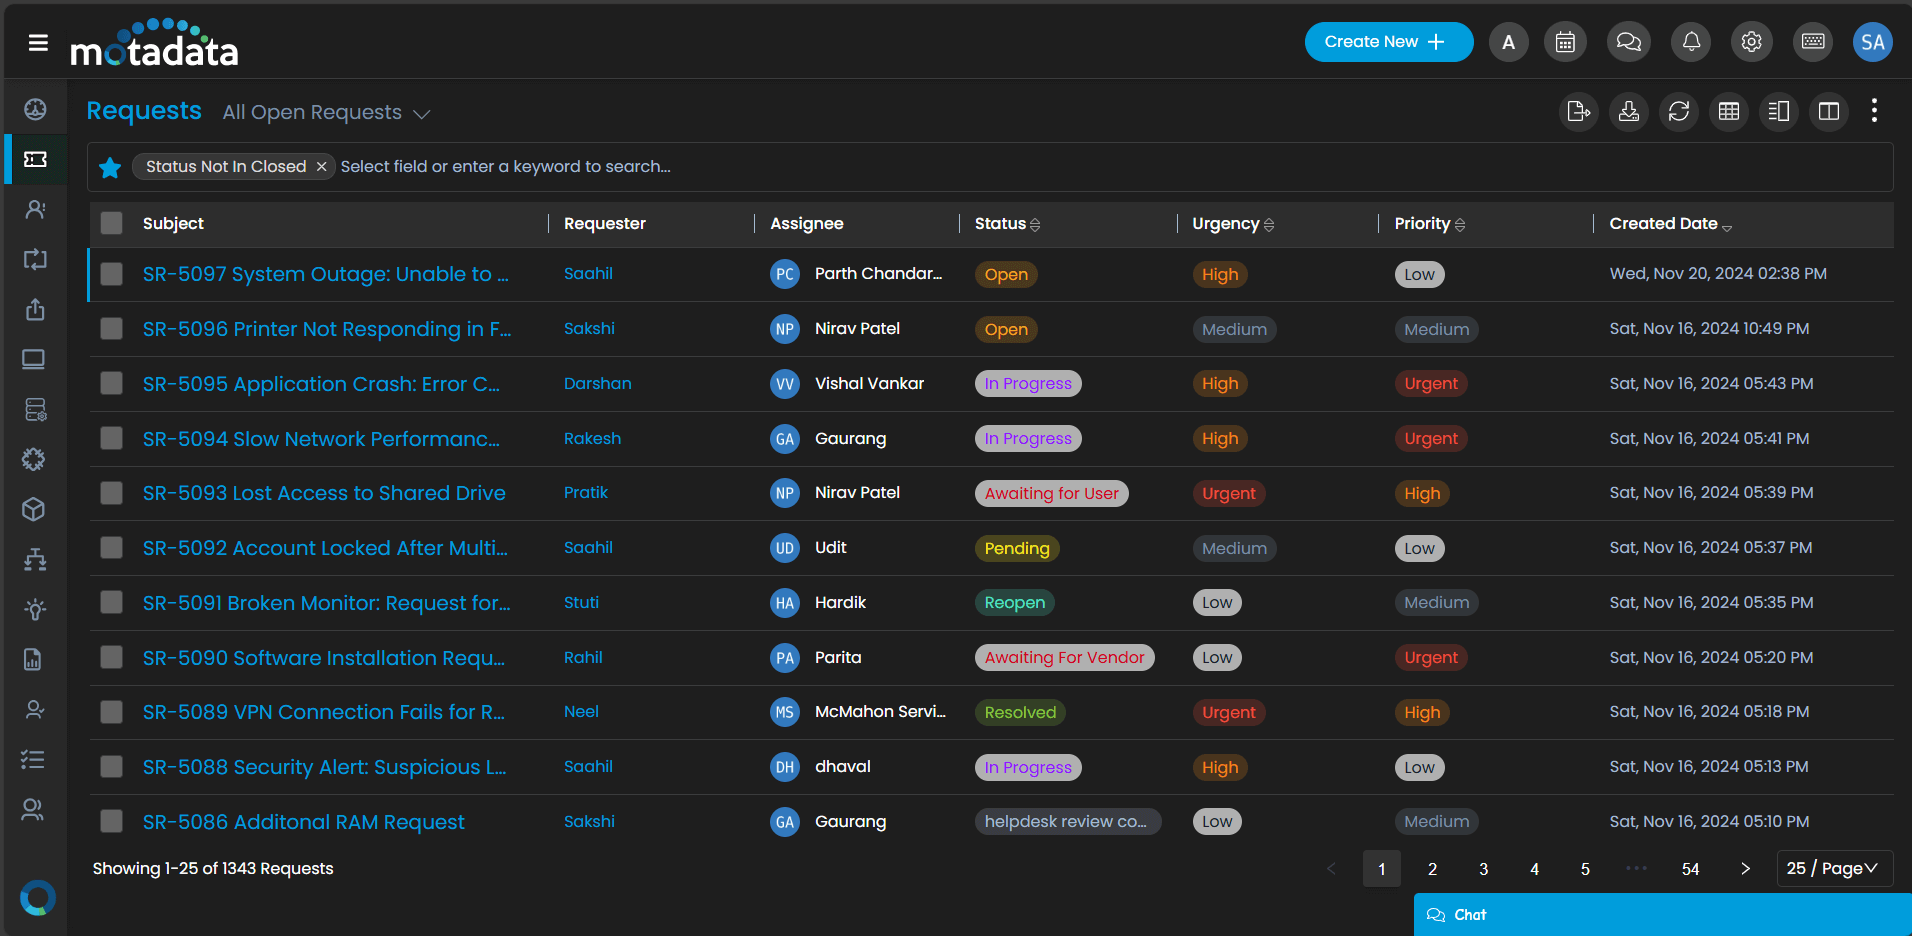
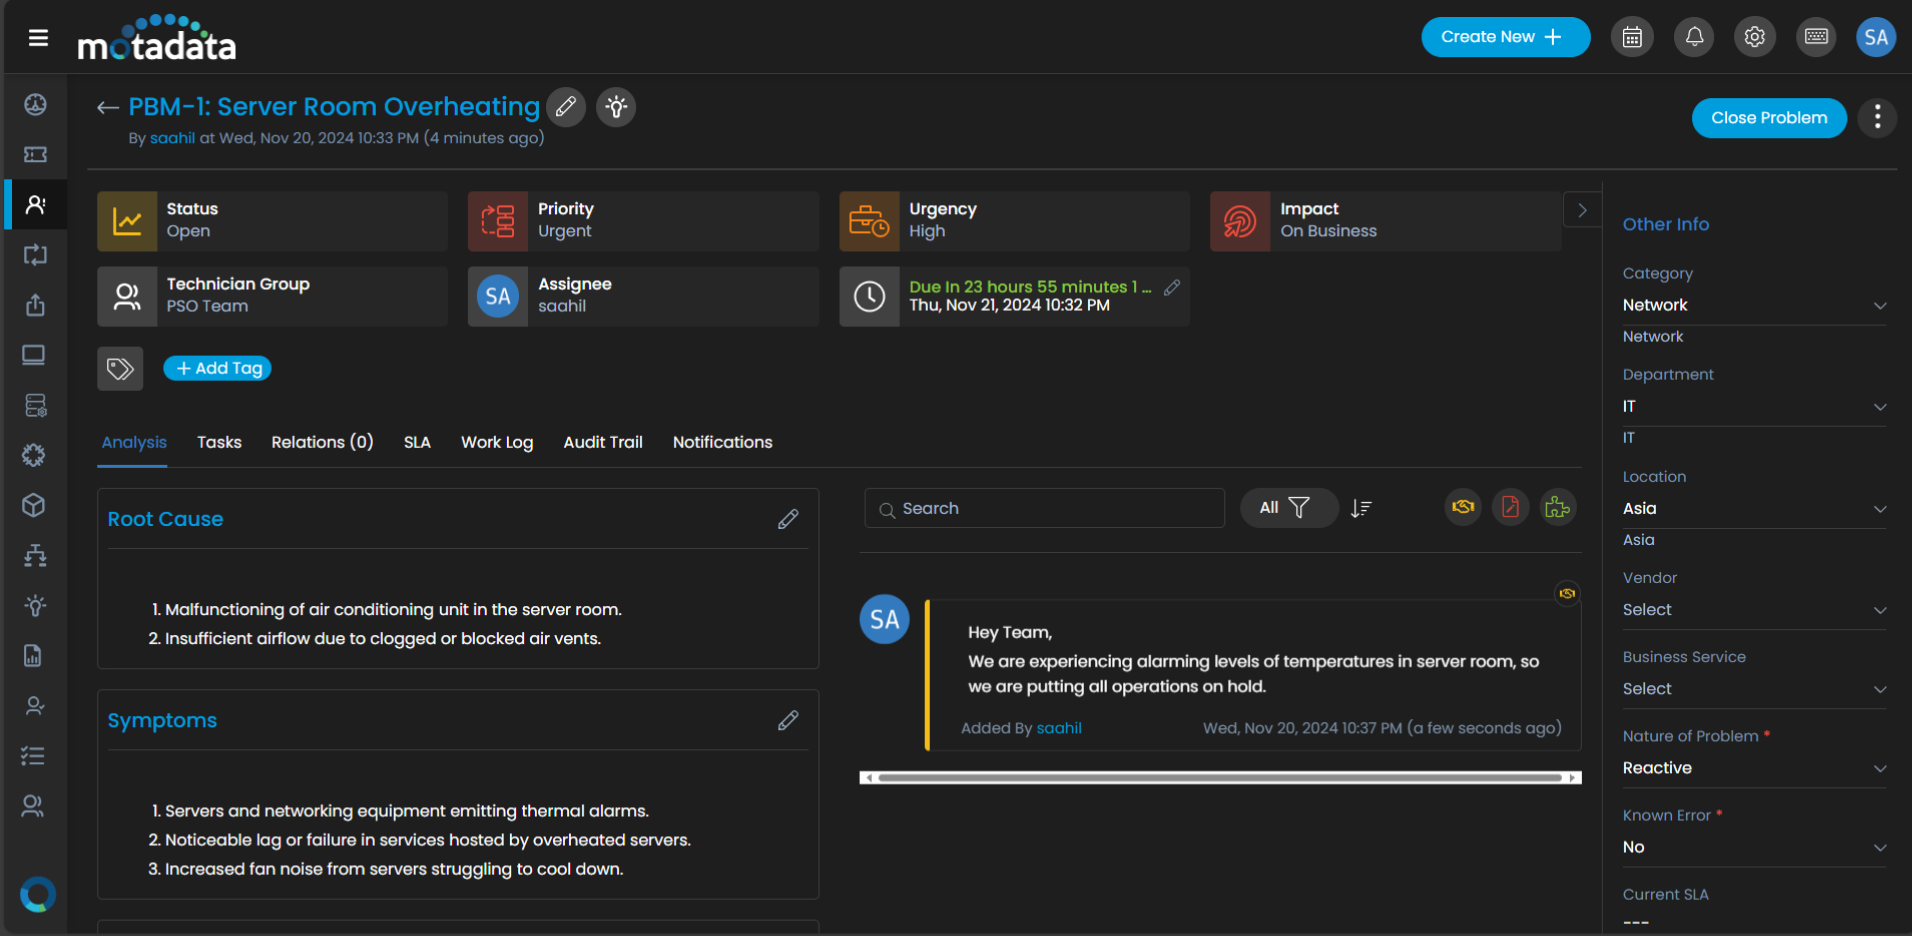
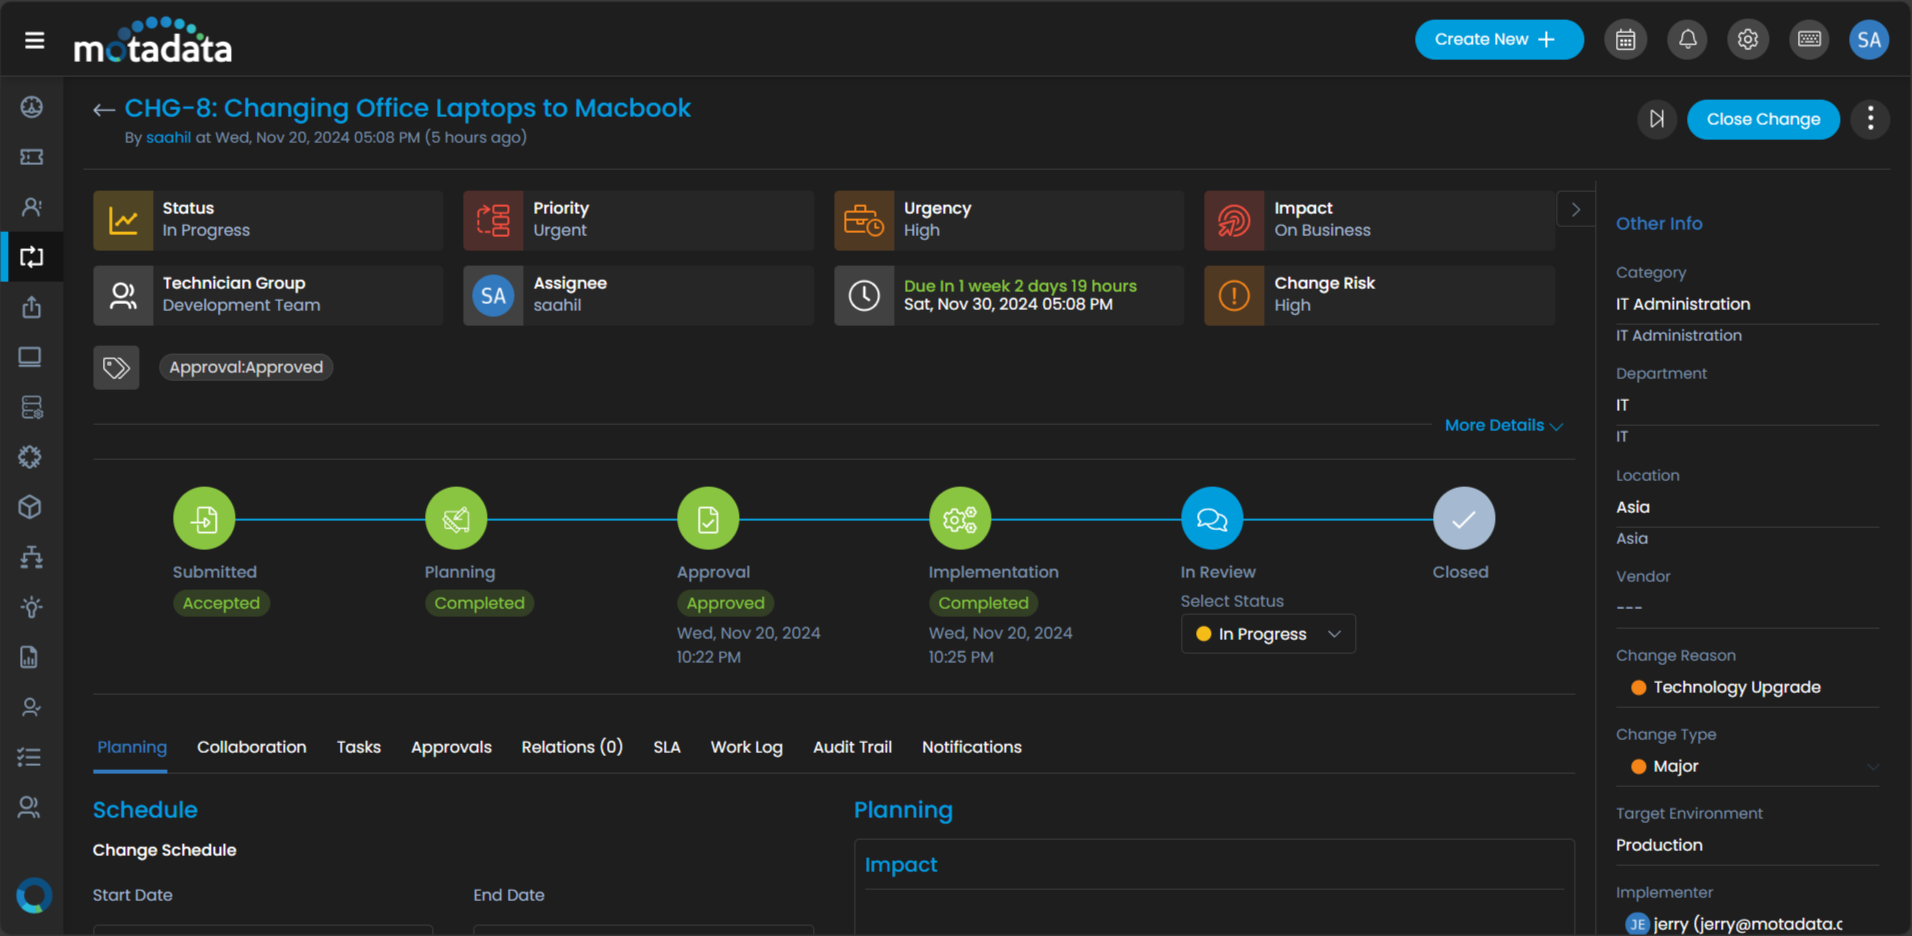
Incident, Problem, and Change Management
These are core components of ITSM. Ensure the tool provides robust management for incidents, problems, and changes to reduce downtime and improve service continuity.
-
Automation and AI Integration
Look for tools with automation capabilities to reduce manual tasks and AI-powered features like predictive incident management and intelligent ticket routing.
-
Self-Service Capabilities
Select a solution that prioritizes user experience and empowers end-users with self-service capabilities.
-
Customer Support and Training Programs
Ensure that the chosen ITSM solution provides excellent customer support and comprehensive training, including the availability of resources like online documentation, knowledge bases, and more.
-
Usability
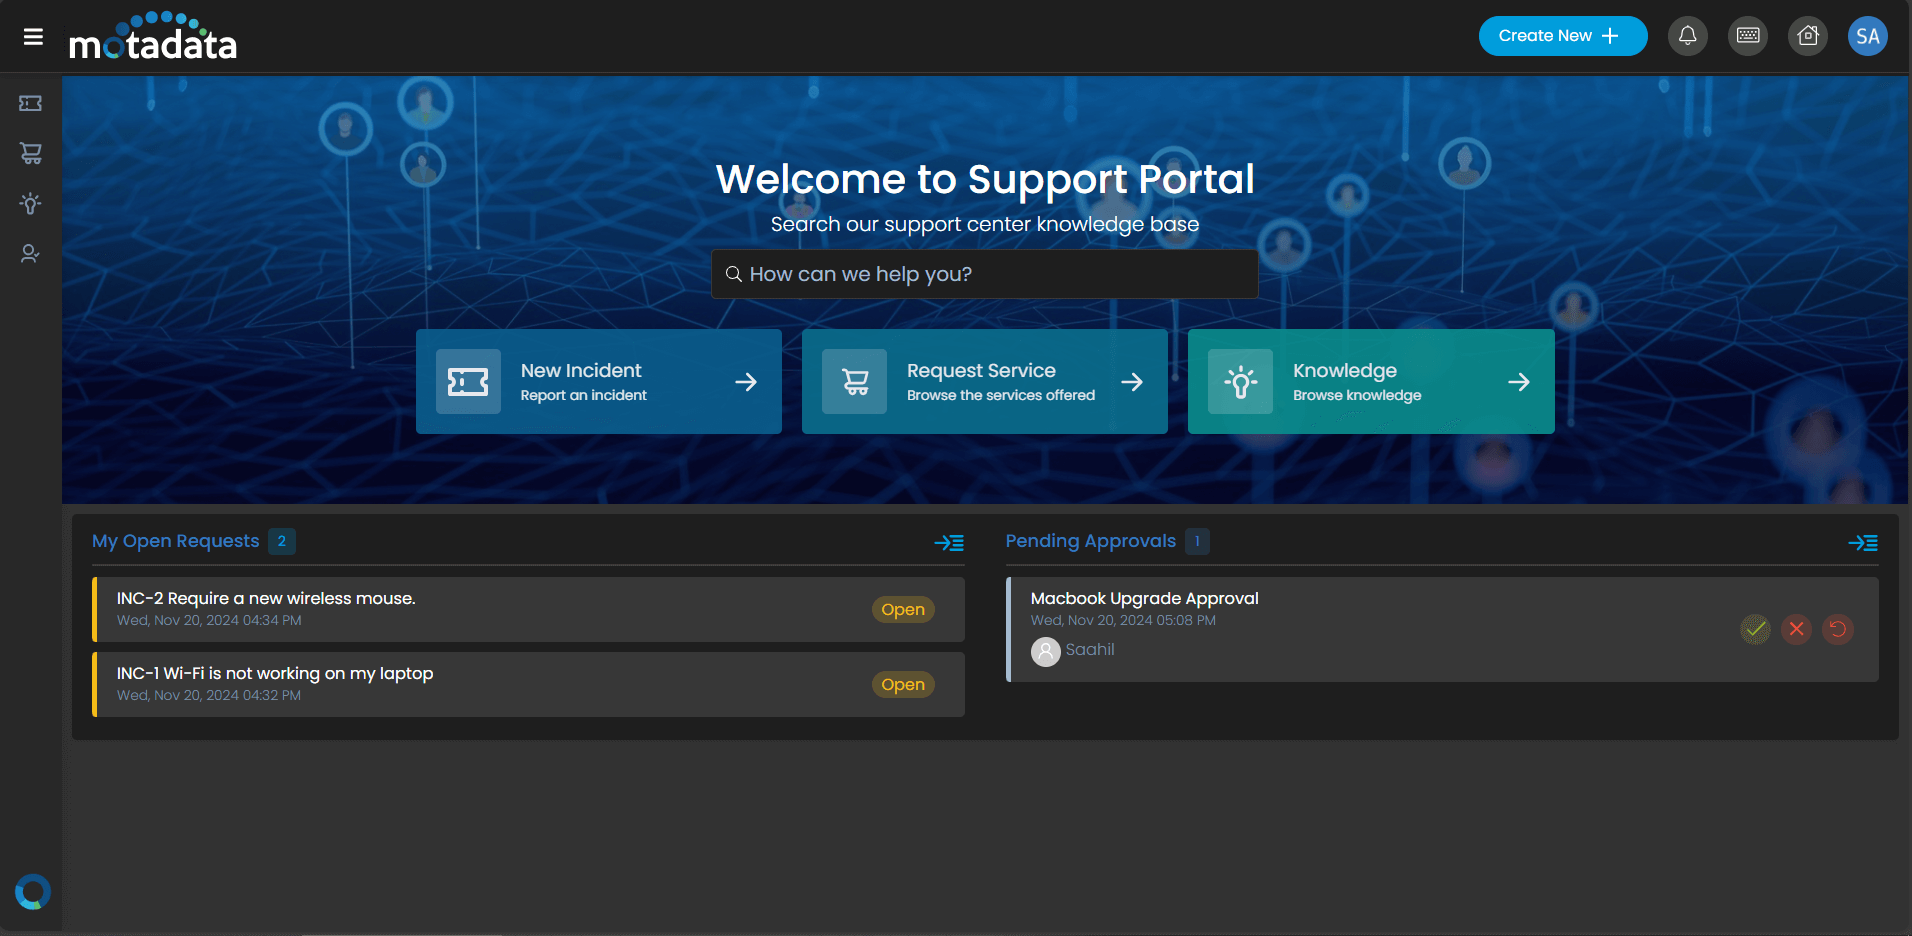
The chosen ITSM tool should be easy to navigate and have a user-friendly interface with clear options for ticket management, service requests, and dashboards.
-
Usability
The chosen ITSM tool should be easy to navigate and have a user-friendly interface with clear options for ticket management, service requests, and dashboards.
-
Mobile Accessibility
The ITSM solution should work with your desktop or machines and ensure you can control your devices with a mobile app that provides services on the go.
-
Integration with Other Systems
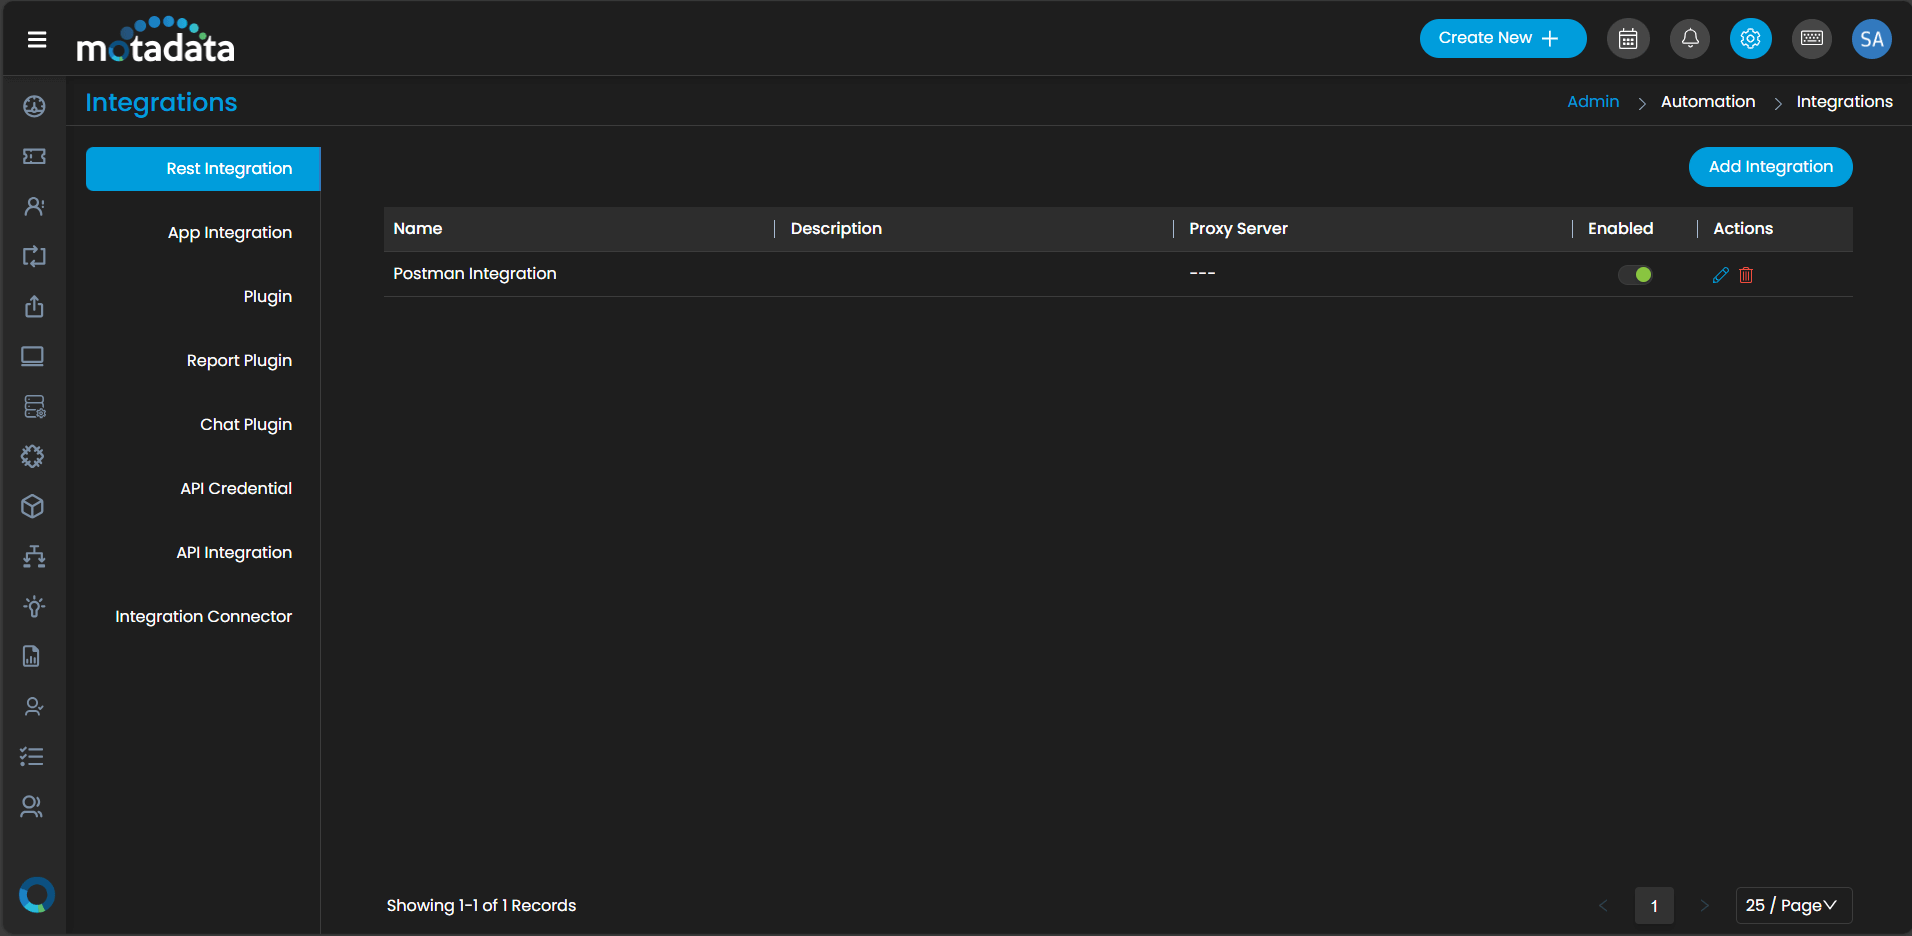
Choose a tool that integrates well with your existing IT infrastructure, such as your CRM, ERP, or collaboration platforms.
-
Cost Considerations
While selecting an ITSM tool is an investment in your organization’s IT operations, the cost should align with your budget and offer value. Evaluate the total cost of ownership, including licensing fees, implementation costs, and ongoing maintenance expenses, to choose an option that suits your budget.
-
AI-Powered Automation
Leveraging AI to automate key tasks, such as ticket routing and prioritization, significantly improves efficiency and reduces the workload on IT staff.
-
Comprehensive Suite of Features
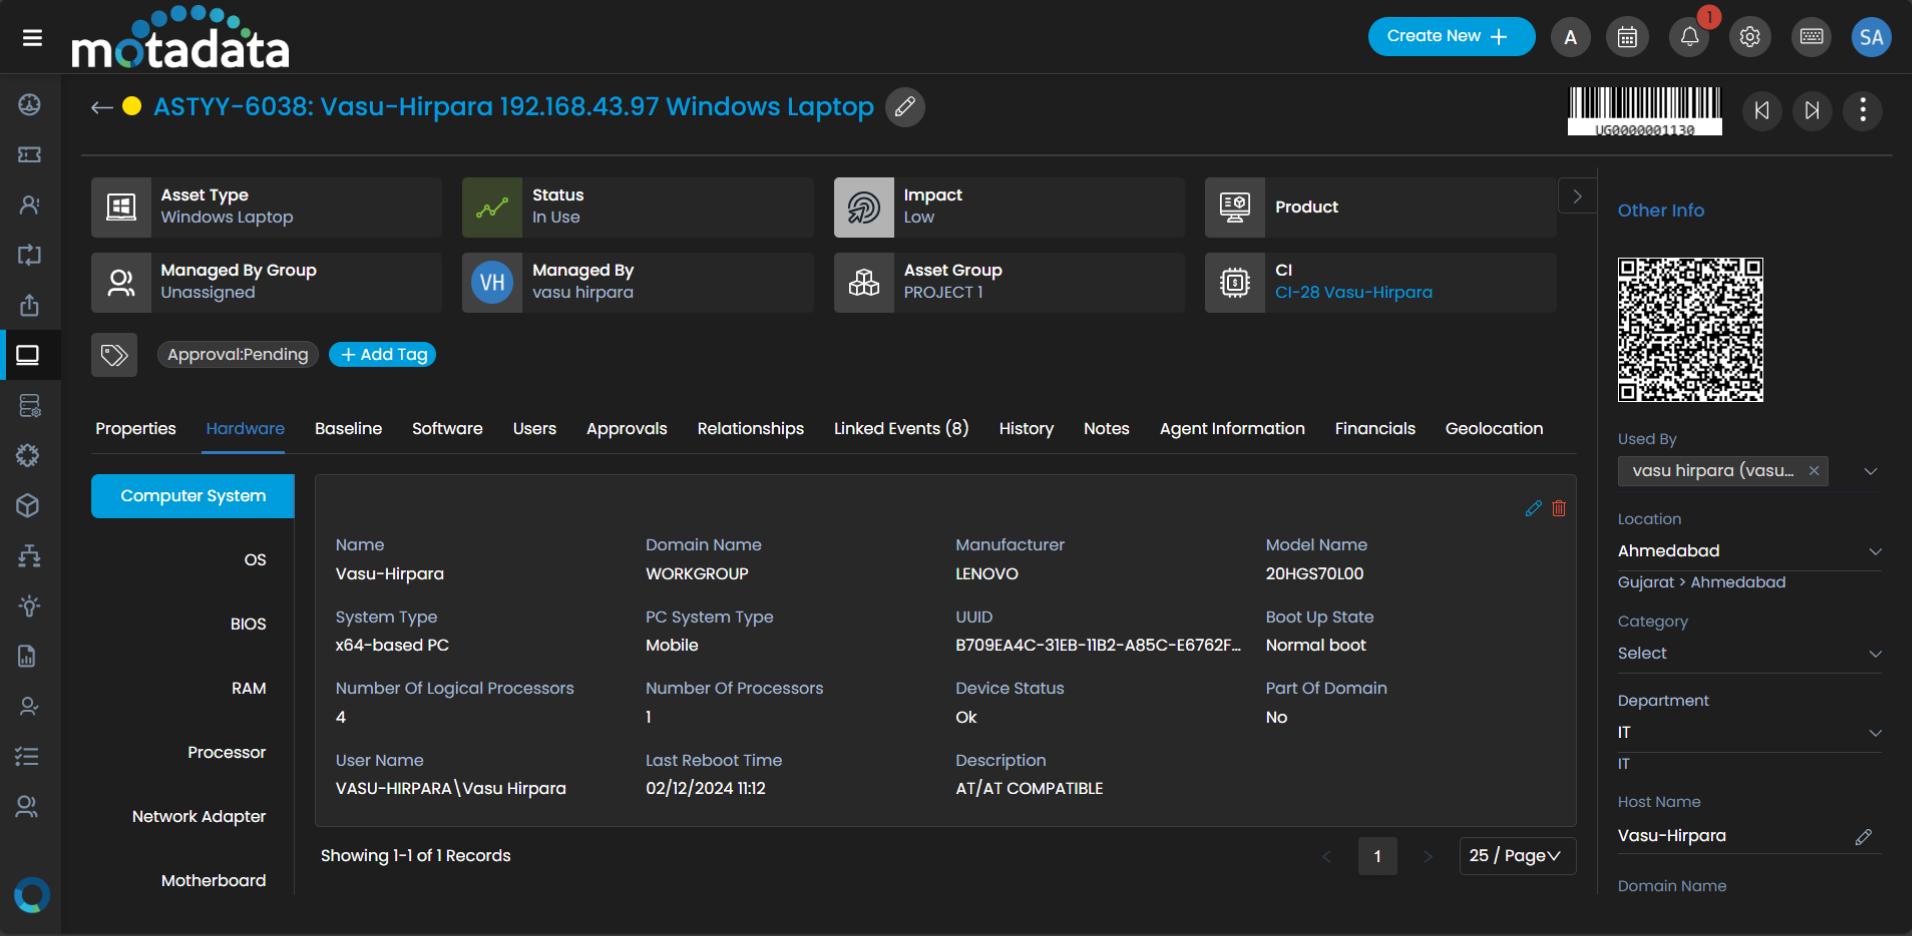
Offers an extensive set of features, including service desk, asset management, change management, and problem management, all within a single, integrated platform.
-
Strong Focus on User Experience
The platform provides a user-friendly interface and intuitive workflows, making it easy for IT staff and end-users to navigate and utilize.
-
Robust Security and Compliance
Ensures data security and compliance with industry standards through advanced security protocols and strong data protection measures.
-
Competitive Pricing and Flexible Licensing Options
Offers a cost-effective solution with flexible licensing options to suit the needs and budgets of different organizations.
-
Award-Winning Customer Support
Provides dedicated support and training to ensure a smooth implementation and ongoing success.
Motadata ServiceOps
Your Choice of
Deployment
An Extensible ITSM Platform powered by AI and Intelligent Automation.
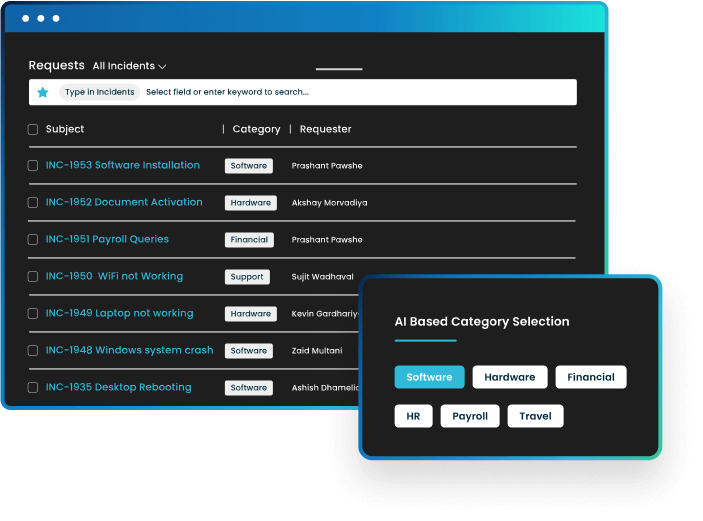
- Workflow automation and categorization
- NLP powered Virtual Agent for self-service
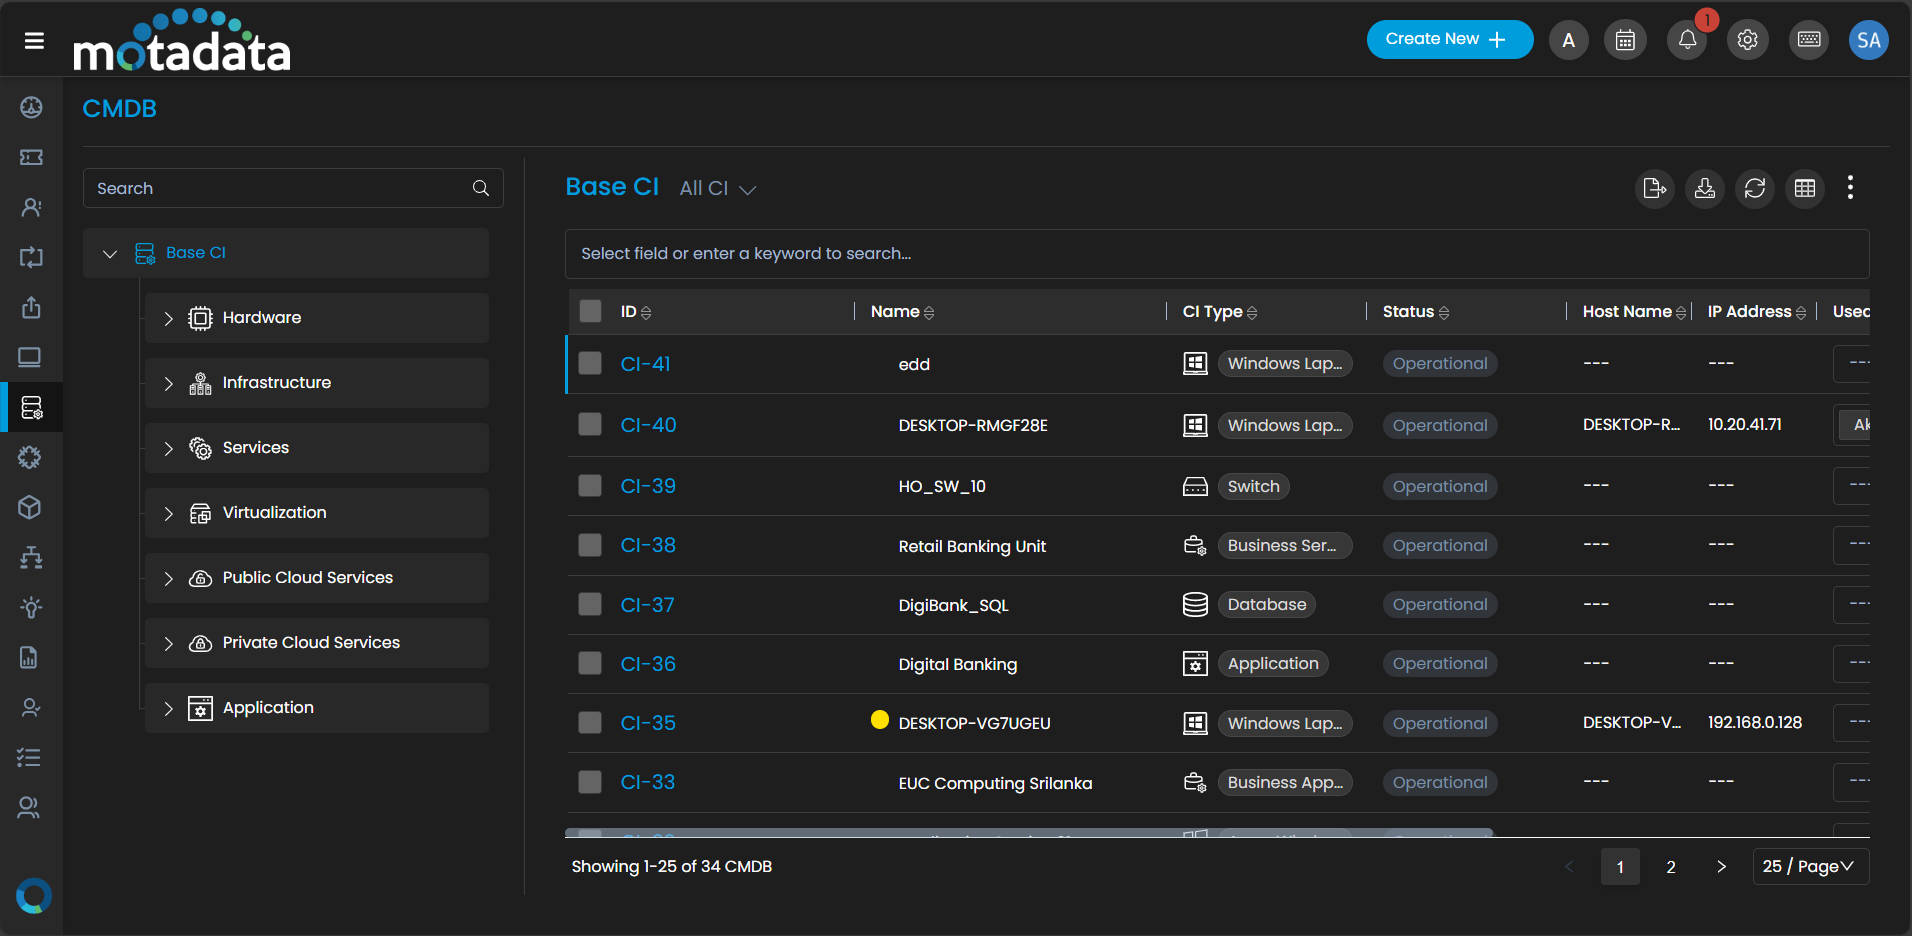
- CI database for HA and SA
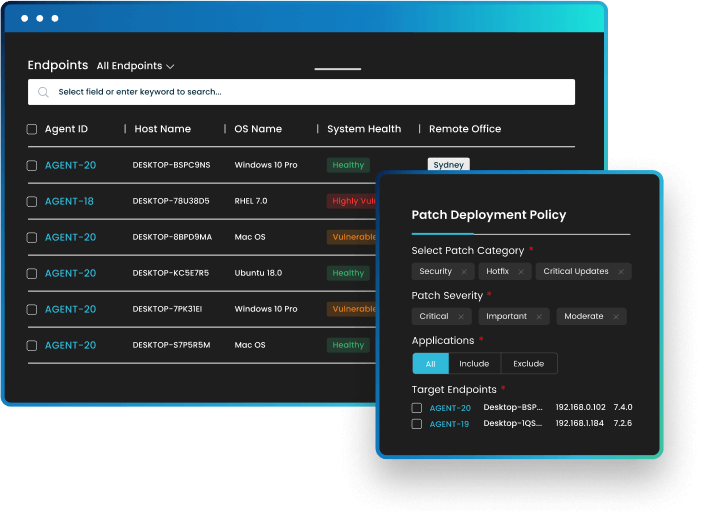
- Automated deployment and testing of patches
ServiceOps Modules
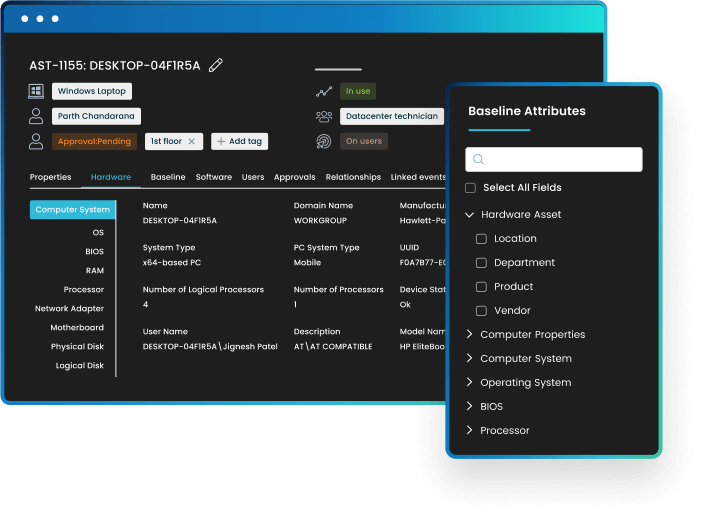
Motadata ServiceOps includes Three Modules: Service Desk, Asset Manager, and Patch Manager to Help Streamline your Business Processes.
Explore ServiceOps
Motadata’s IT Service Management Software is Easy to Use, Simple to Set up, and has Everything you Need to Provide a Seamless IT Service Delivery.
Try ServiceOps for 30 Days
Download our software free of cost for 30 days
Schedule Demo With Our Expert
Book a slot in our calendar and experience ServiceOps live.
Motadata AIOps
Your One-Stop Solution for Entire IT Infrastructure
Motadata AIOps is a platform built on Deep Learning Framework for IT Operation that derives insights from the metric, log, and network traffic data, through automated data ingestion from a single agent. From detection to remediation, the AI engine improves operational efficiency and accelerates digital transformation.
By TEAMS
See how various business teams leverage Motadata to improve productivity and streamline internal processes to achieve larger organizational goals.
By USECASEs
See how Motadata can help solve challenges for various use-cases with an aim to increase uptime and boost efficiency with AI/ML and automation.
Do You Have Any Questions? Please Ask Here We Are Ready to Help You Out
If your question is not listed here, please feel free to reach out.
IT service management (ITSM) is a group of procedures and actions that IT companies use to manage their IT services throughout their life cycles. ITSM organizes the IT organization’s operations around service delivery, making sure that the business teams have access to the services they require to perform their daily activities successfully.
ITSM associates an organization’s IT goals and actions with the overall business goals. It reduces IT costs, allowing businesses to optimize their return on investment and get the most out of their IT budgets. ITSM is a methodical approach to IT that encourages transparency and accountability between IT and the business.
An ITSM framework is an official structure of best practices that provides a realistic direction to service management, enabling continual development of provided services. The ITSM framework defines standard procedures and techniques to improve IT productivity and supports a wide range of IT services like networks, databases, and applications, as well as non-IT business activities.
Some of the most popular ITSM frameworks are ITIL, COBIT, ISO/IEC 20000, MOF, USMBOK, Six Sigma, TOGAF, etc.
ITSM is a set of processes that organizations use to manage and deliver their IT services and through which users can make IT-related requests and report issues. ITSM aligns the goals of the IT organization with the business requirements.
ITIL (Information Technology Infrastructure Library) is a framework that first appeared in the 1980s as a collection of best practices for ITSM. ITIL provided standardization and broad adoption of best practices to IT companies everywhere, and it continues to be the dominant standard for IT organizations all over the world when it comes to providing efficient IT service management.
The ITIL framework serves as a road map for modern IT businesses to follow while implementing ITSM to bring greater value to their organizations through effective management of the IT service life cycle.
The ITIL processes are classified into five service lifecycle stages: Service Strategy, Service Design, Service Transition, Service Operation, and Continual Service Improvement.
The goal of Service Strategy is to define which services the IT organization will provide and what capabilities will need to be created.
Service Design is concerned with the creation of new IT services as well as the modifications and enhancement of current ones.
The goal of Service Transition is to build and deploy IT services in a coordinated manner so that they cause minimum impact on existing operations.
Service Operation guarantees that IT services are delivered effectively and efficiently.
Continuous Service Improvement (CSI) attempts to continuously enhance the efficacy and efficiency of IT processes and services by making use of quality management methodology.

