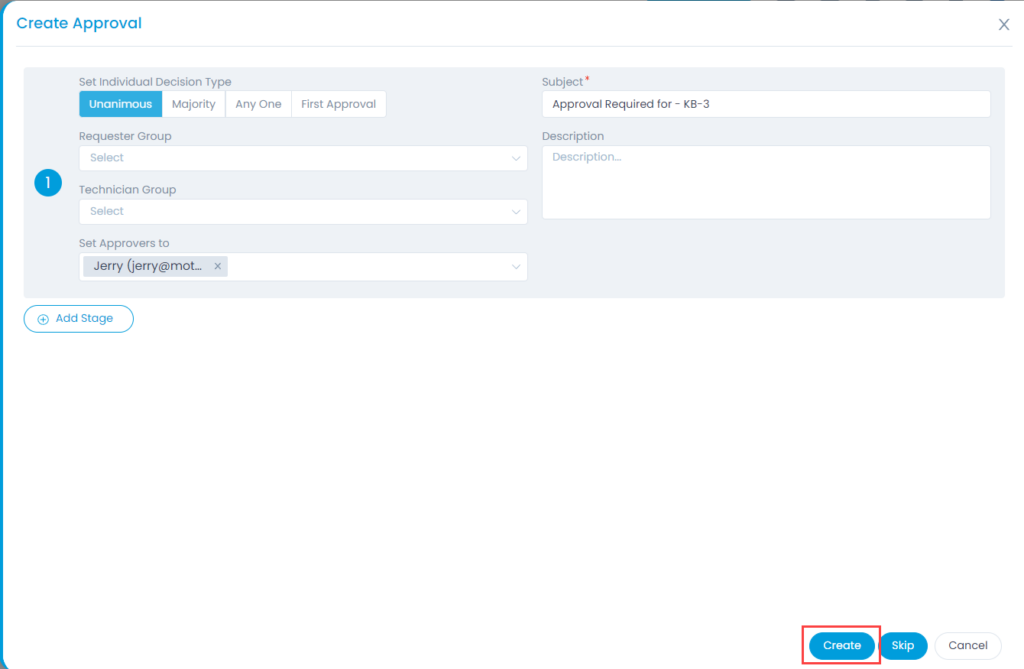
- Enter the following details:
- Set Individual Decision Type: Select the type of decision.
- Unanimous: Everybody selected as approver has to approve the Knowledge.
- Majority: Majority of approvers should approve the Knowledge.
- Anyone: Any one approver can approve the Knowledge
- First Approval: If selected, the first approval received (Approved or Reject) will be considered and the rest will be ignored. For example, If 3 approvers are set and if the first approval received is Approved, then this is considered. The approvals from the rest of the approvers will be Ignored, though rejection is received later from other approvers.
- Subject: Default subject is ‘Approval Required for – ’. You can replace it with your own subject.
- Requester Group: Select the requester group whose members can give the approval.
- Technician Group: Select the technician group whose members can give the approval.
- Set Approvers to: If you want specific people to approve, select the name of the approvers.
- Description: Type the description so approvers can gain sufficient information about the approval required.
- Add Stage: If the approval process is a multi-level process, click on ‘Add Stage’ to another approval form. For e.g. when someone wants to publish multiple articles simultaneously, initially his/her manager/s should approve. Secondly, Its department should approve.
- Click Create to send the knowledge article for approval.
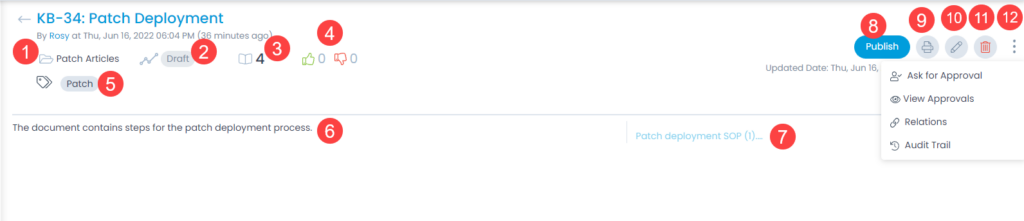
View Approvals
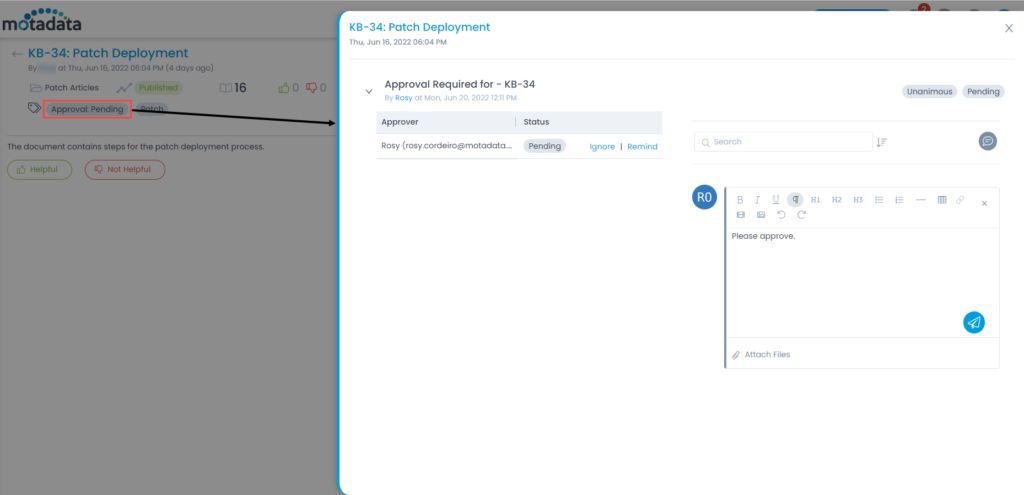
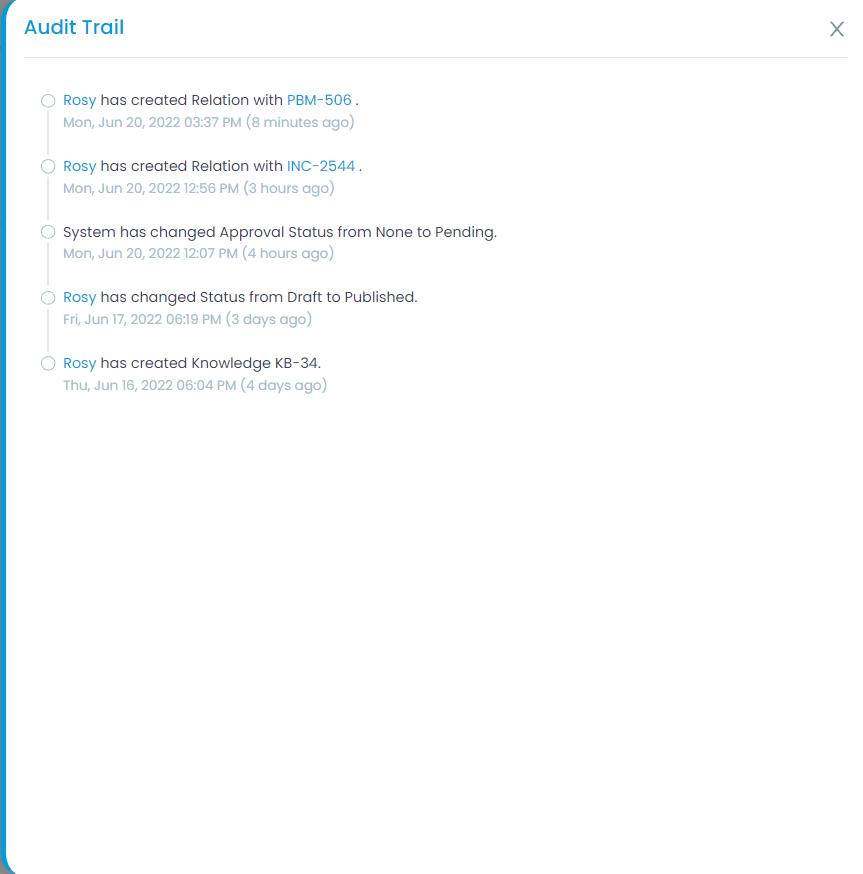
To view the pending approvals, click the Approval tag, and a popup appears displaying all the approvals done or pending for the knowledge.
From this page, you can also ignore if no longer required and remind the approvers for the approvals. As an approver, you can view, approve, or reject the approvals from My Approvals menu.