Configuring a Monitor Maintenance Window
Overview
Motadata AIOps is equipped with a feature that allows you to identify if a particular monitor is under maintenance. Once you mark the monitor as under maintenance, the monitor is turned off for further surveillance.
Navigation
Go to Menu, Select Settings ![]() .After that, Go to Monitoring . Select Device\Cloud\Agent\Service Check Monitor Settings based on the monitor you want to indicate under maintenance.
.After that, Go to Monitoring . Select Device\Cloud\Agent\Service Check Monitor Settings based on the monitor you want to indicate under maintenance.
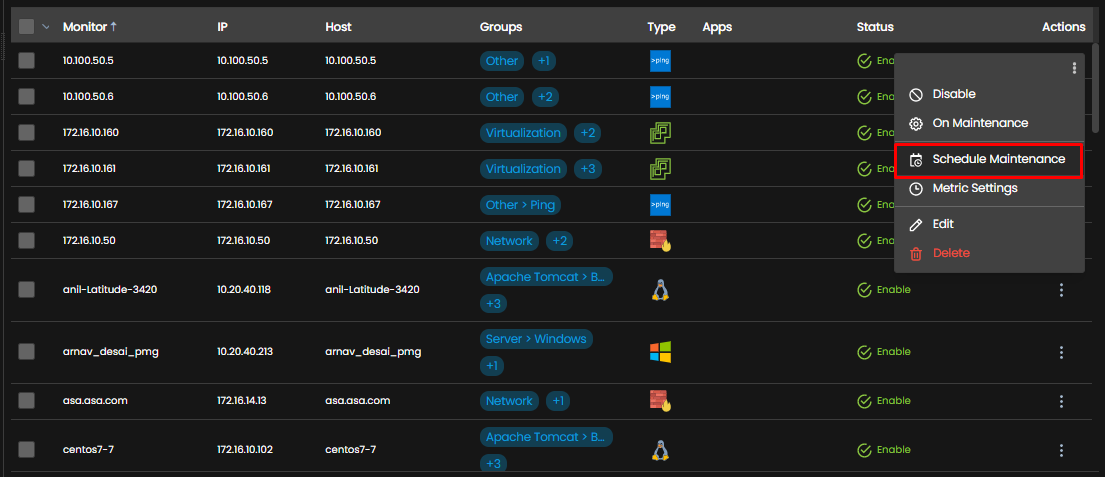
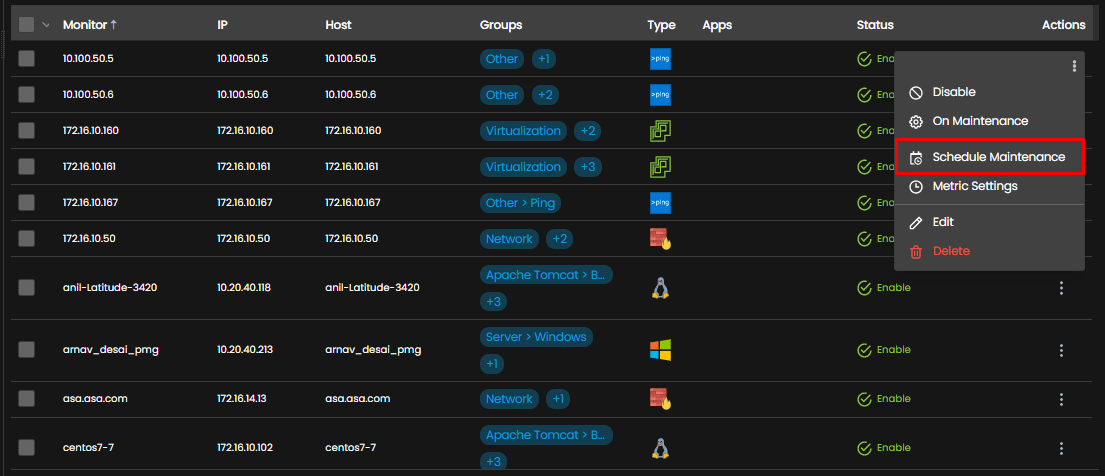
Navigate to the monitor you want to indicate under maintenance. Under the Actions tab, select ![]() to display the dropdown menu as displayed below.
to display the dropdown menu as displayed below.

Turning Maintenance ON/OFF
- Select On Maintenance
 to indicate that maintenance is underway for a monitor. This will change the status of the monitor from Enable
 to Maintenance
 .
.
This means the monitor is no longer under surveillance by Motadata. - Select Off Maintenance
 to indicate that the maintenance is no longer running for a monitor. This will change the status of the monitor from Maintenance
  to Enable
 .
This means the monitor is once again under surveillance by Motadata.


