Motadata Docs

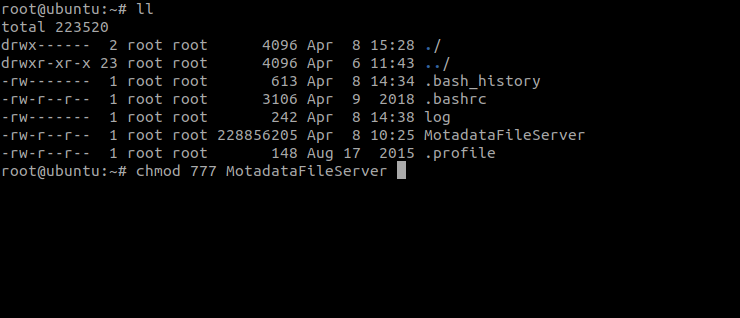
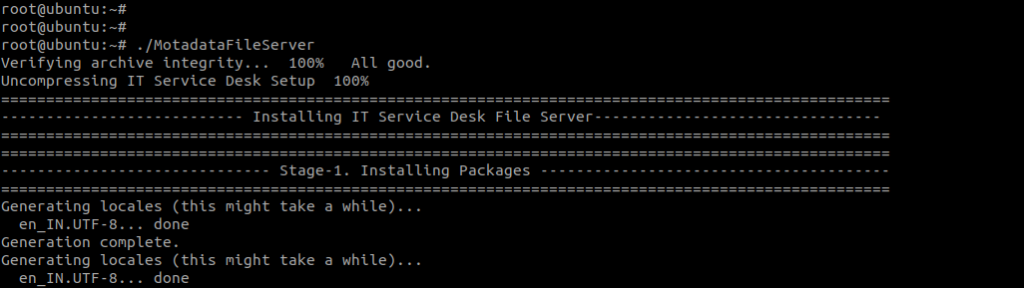
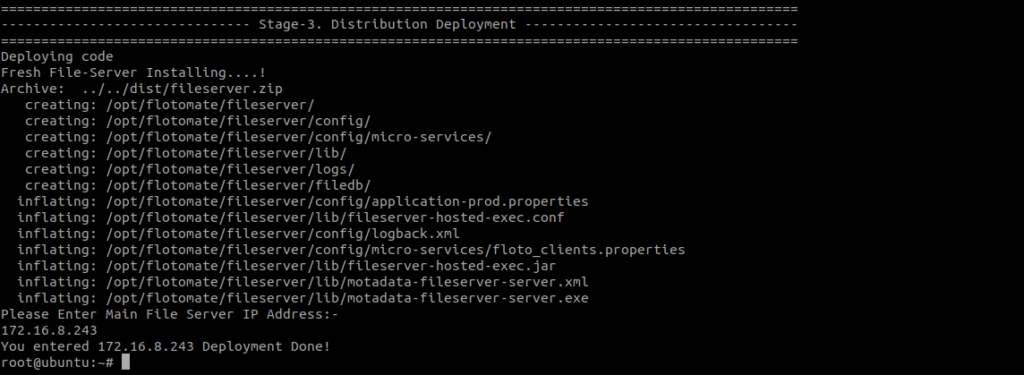
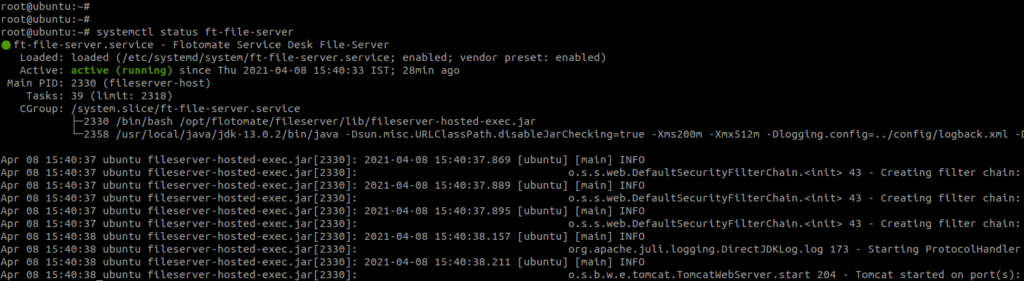
File Server Installation

The File Server works as a File Storage for Patch and Package Management. It can be installed on the same machine where the main server is installed or on another machine which is reachable by the main server. The File Server is mandatory for Patch/Package Management. Thus the installation of File Server is required if the Patch Management license is enabled.

If the Patch/Package Management is running for multi location based organization then for each location we need to install one File Server on separate machine at respective locations and reachable to the main server. This is a preferable solution for multi location based organization. But, it can be managed by single File Server for a Single location based organization, where only one File Server is required to install.

Installation link for Motadata File Server

Ubuntu 20

Download Link

Redhat

Download Link

What is a File Server?

A file server is a computer responsible for central storage of data. A file server works in conjunction with our main server, and it’s the backbone for Remote Deployment. A file server is a must in the following usage scenarios:

  • Deployment of Patches.
  • Deployment of Packages.
  • Self-upgrade of Motadata Agent application.

Installation Steps

Step 1: Download the Motadata File Server.

Download
Download

Step 2: Provide the execution permission to the file using the below command:
chmod 777 MotadataFileServer

Permission
Permission
Permission
Permission

Step 3: Run the executable Patch package file using the below command:
./MotadataFileServer

Execute Patch
Execute Patch

Step 4: Enter the Main-server(ServiceOps) IP address during installation.

Executed Patch
Executed Patch
Executed Patch
Executed Patch
Executed Patch
Executed Patch

Step 5: Check the Motadata File Server Service using the below command:
systemctl status ft-file-server

Status
Status

On this Page