Requester Groups
Requester Groups are group of requesters that raise requests. They are useful for:
- Sending an email notification about a ticket/incident to all the members of the group.
- Sending an email for announcement to a Requester Group
- Asking permission for an approval to a Requester Group
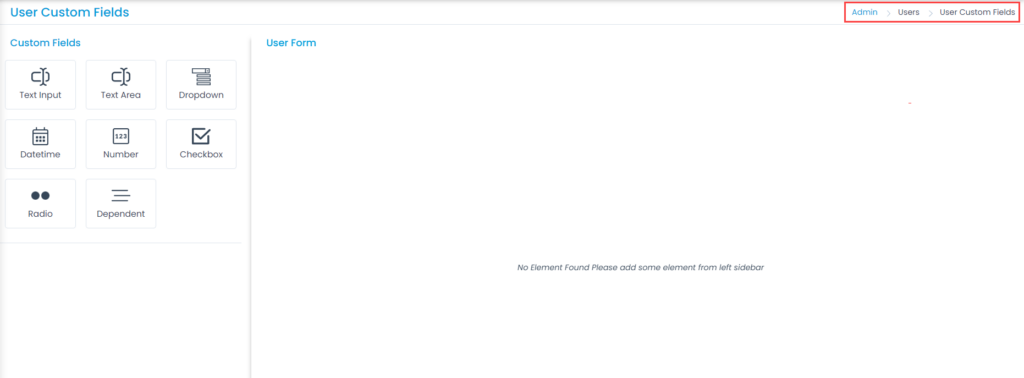
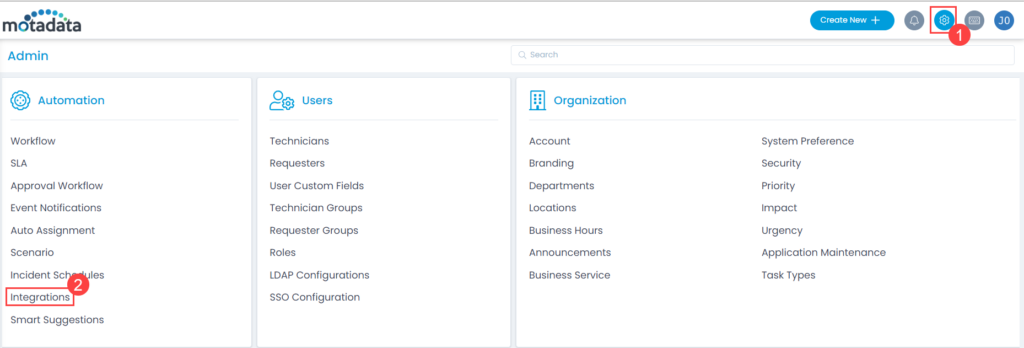
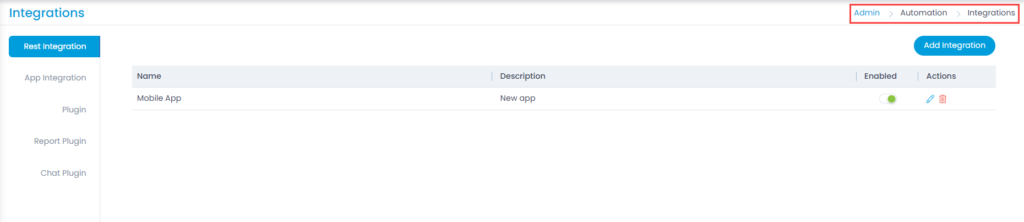
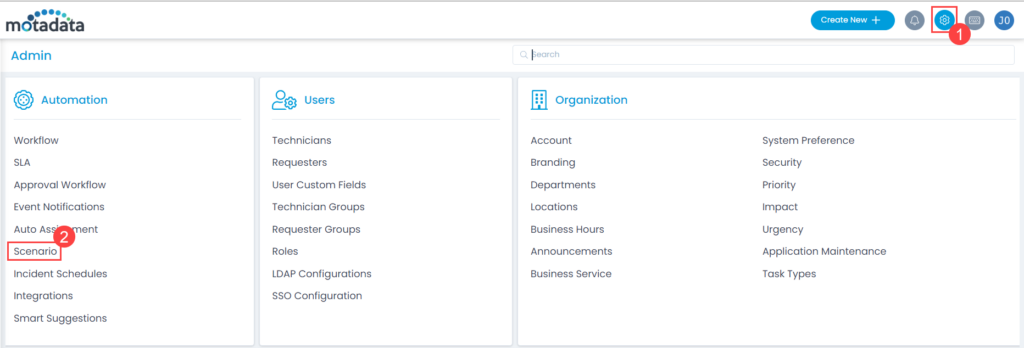
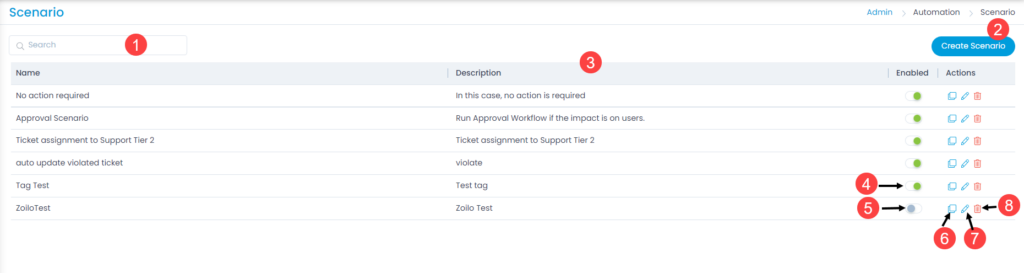
To view the Requester Groups page, navigate to Admin > Users > Requester Groups and the page appears.

Here, you can perform the following tasks:
- View the list of Requester Groups
- Create a Requester Group
- Edit a Requester Group
- Delete a Requester Group
Create a Requester Group
To create a Requester Group,
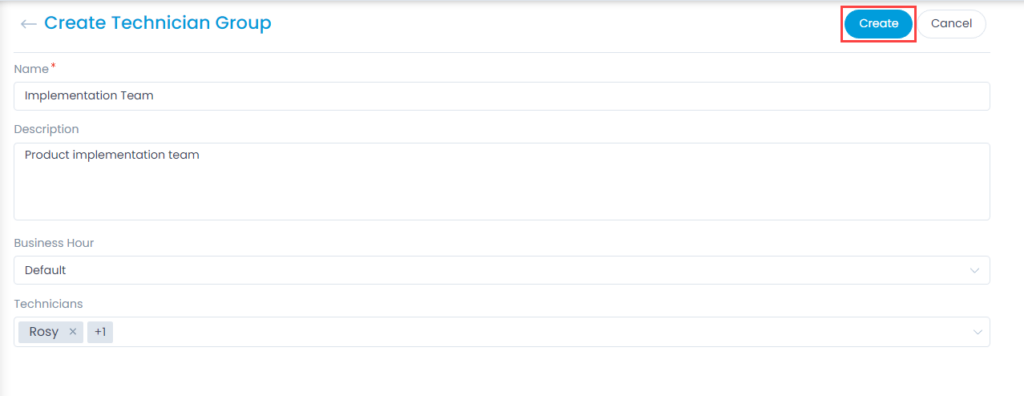
- Click the Create Requester Group button and the page appears.
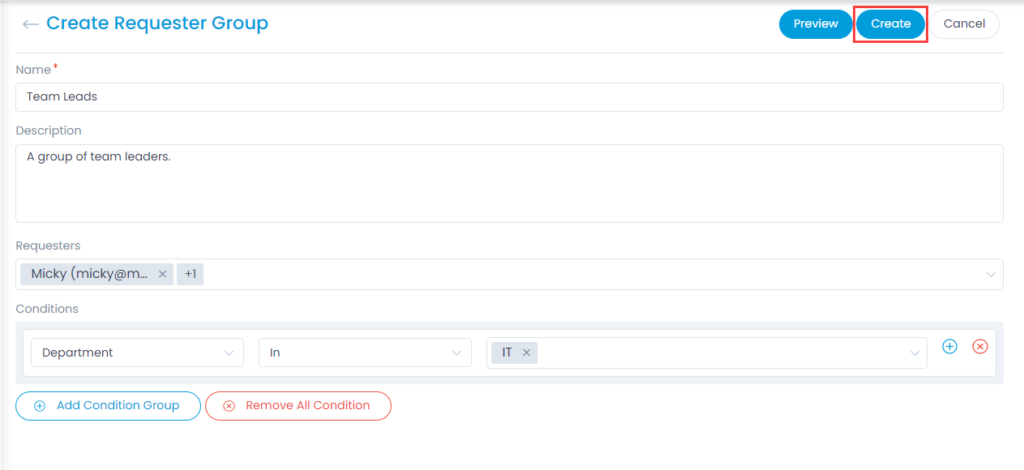
- Enter the following details:
- Name: Enter the name of the Requester Group.
- Description: Enter the details about the Requester Group.
- Requesters: Select the requesters whom you want to assign this group manually. This field is used when you want to add limited number of requesters that are not covered in the below conditions.
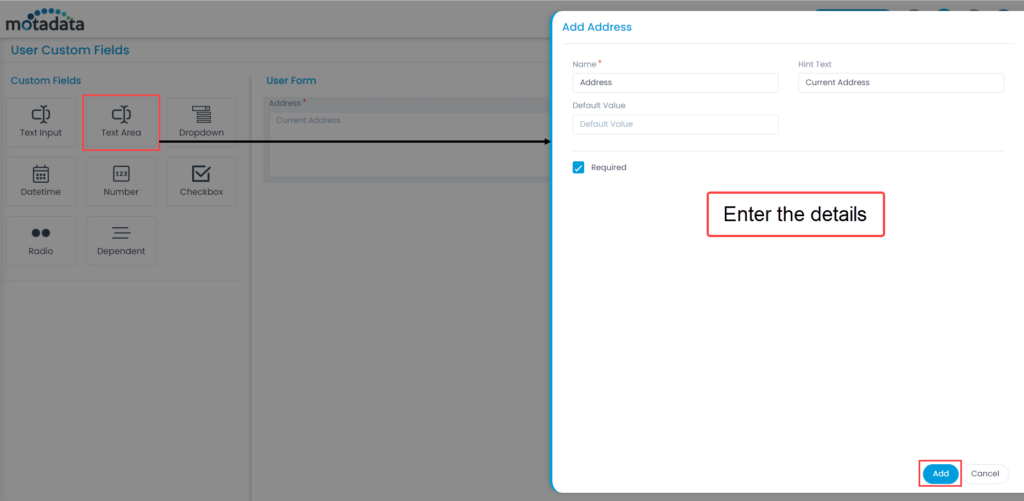
- Conditions: You can set conditions based on which the requesters will automatically get added to this Requester Group. This field is used when you want to add many requesters in the group. The requesters falling in this group will not be visible in the above Requesters field. Configure a set of single or multiple conditions in different condition groups by selecting the fields. The fields can also be user custom fields. A condition group can have maximum two conditions. Relationship between conditions in a group uses either AND or OR operators. In case of multiple groups, you will need to define the relationship between them. Use Add Condition Group button to add groups. The plus icon adds conditions to a group, and the cross icon deletes them.
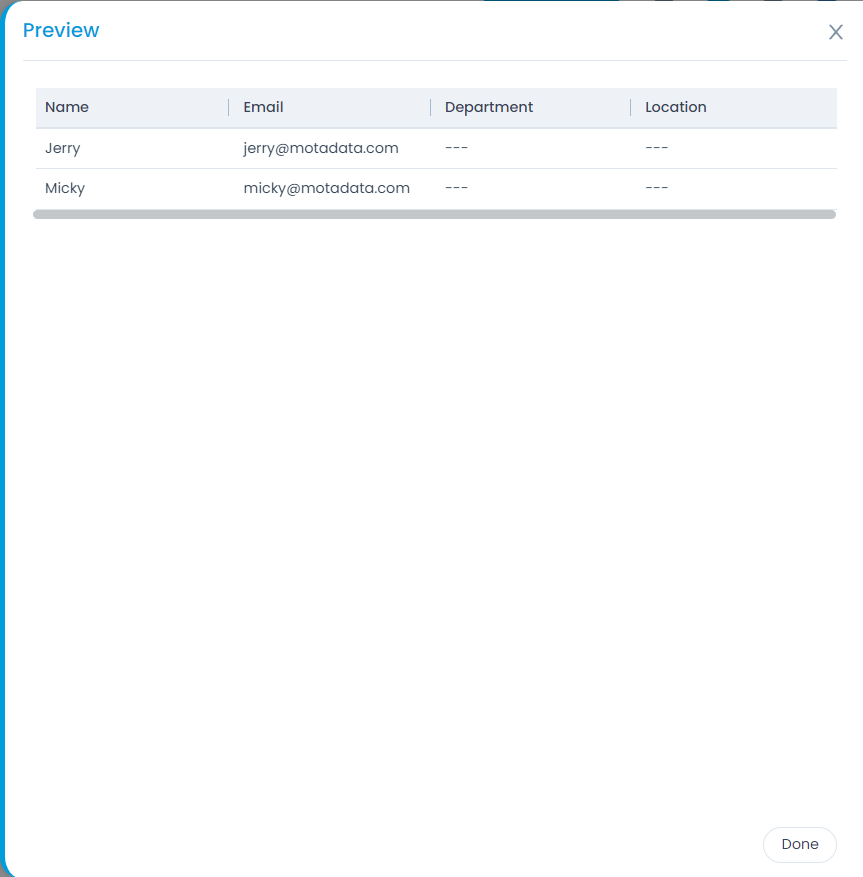
- Once done, click Create, and the Requester Group appears in the list. You can also preview the list of requesters who are going to be added using the Preview button as shown below.