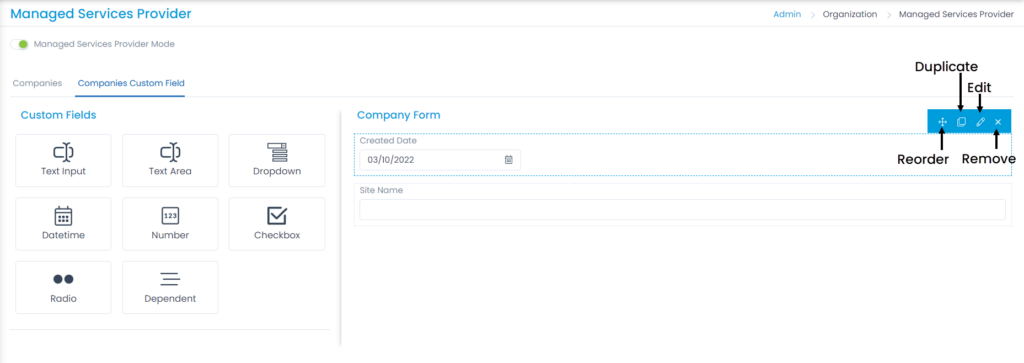
Companies Custom Field
This tab enables you to add custom fields in the create company form. Using these you can capture additional details about the company at the time of creation.
To add a custom field,
- Click the Companies Custom Field tab.
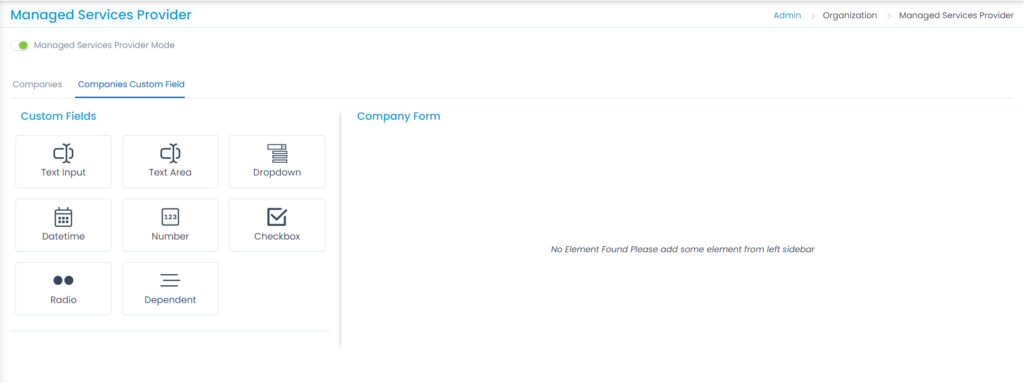
- Select the desired field, drag and drop it on the right-hand side, and a popup appears as shown below. Here, Datetime field is used as an example.
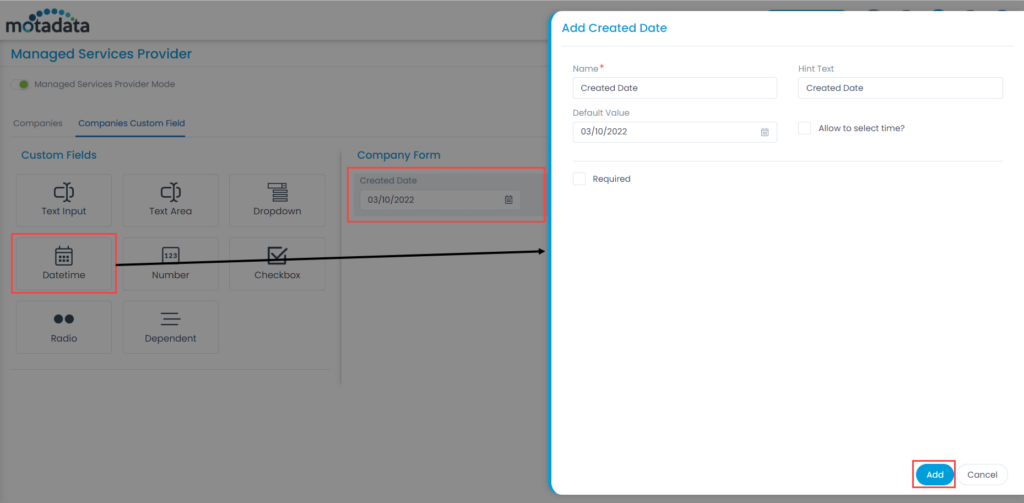
- Enter the below details:
- Name: Enter the name of the field.
- Hint Text: Enter the text to appear by default. It appears in grey color.
- Default Value: Enter the default value of the field.
- Allow to select Time?: Enable to allow the user to select time along with the date.
- Required: Enable to make the field mandatory.
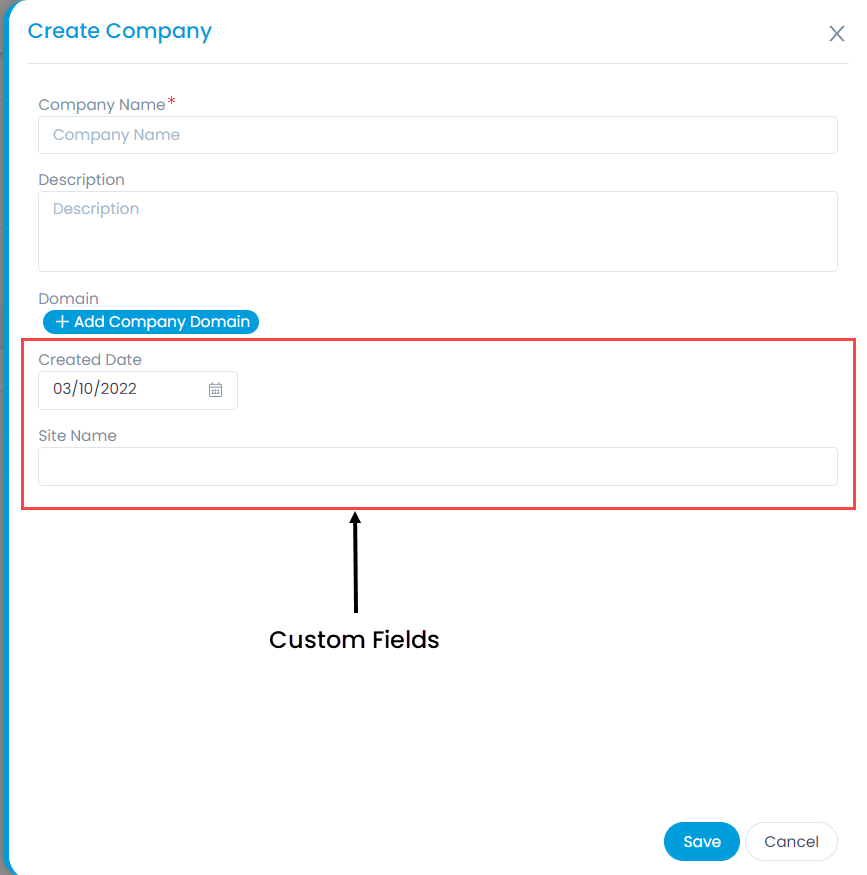
- Once done, click Add. The field will appear in the Create Company form. You can then re-arrange its location, create a duplicate field, edit, or delete it if required. Similarly, you can add other custom fields. For more details, refer to the Request Form page.