Powershell Runbook
Overview
This Runbook can be used if you want to execute certain actions on a monitor using PowerShell script.
After selecting the  button, a screen appears to create a workbook as follows.
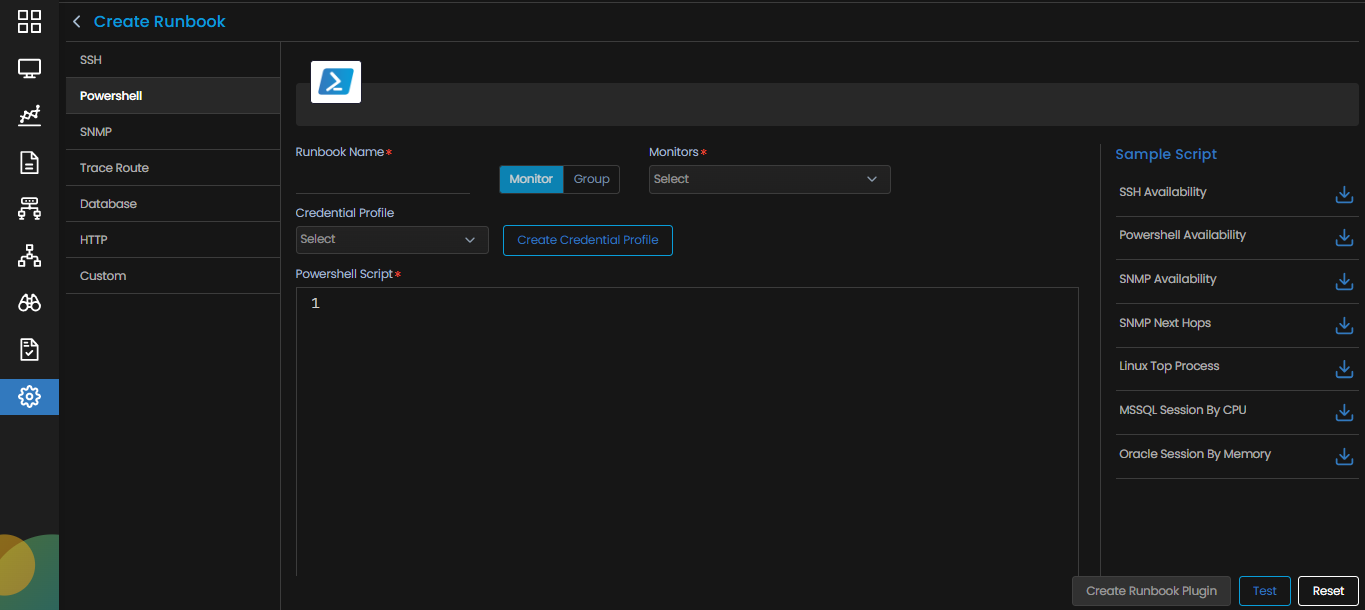

This Runbook can be used if you want to execute certain actions on a monitor using PowerShell script.
After selecting the button, a screen appears to create a workbook as follows.
SSH Runbook can be used if you want to execute certain actions on a monitor while using SSH protocol to access the monitor. This can be used for Linux & Network devices.
After selecting , a screen appears to create a Runbook.
SSH runbook is selected by default.
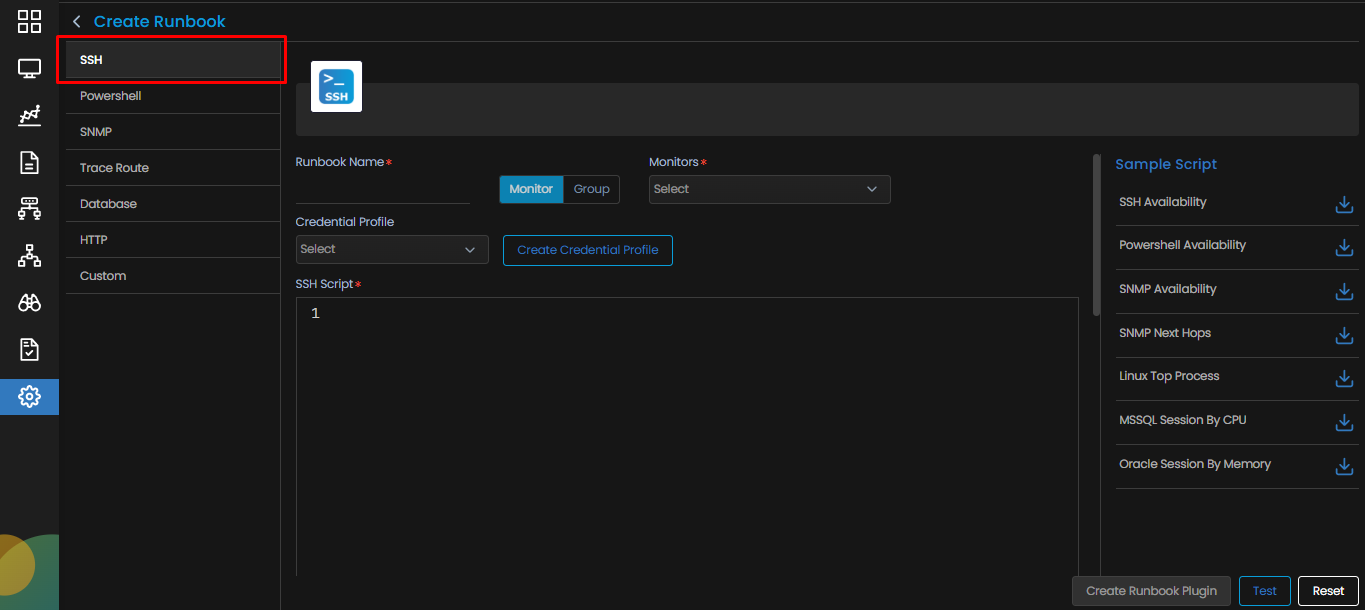
The following parameters appear on the Create Runbook screen for SSH protocol.
| Runbook Name | Enter a unique name of the runbook you wish to create. The name should be given logically based on the task performed by the runbook |
| Monitor/Group |
Select a Monitor or Group based on your requirement.
|
| Credential Profile | Select the credential profile so that your runbook is able to access the monitor using the appropriate credentials and perform its task on the monitor. |
| Create Credential Profile | Select this option if you wish to create a new credential profile. |
| SSH Script | Write down the script of the task you want your runbook to perform in this space. |
| Script Language | Select the language (GO or Python) in which you write your script. |
| Parsing Script | Enter the script to parse the output received after executing the SSH script. |
| Add variable | Add a variable, if needed to be used in the parsing script. |
Select the Create Runbook Plugin button to create the runbook based on the parameters entered.
Select the Test button to verify the correctness of the script and the validity of the credential profile.
Select the Reset button to erase all the current field values, if required.
There might be a situation where you might need to perform an operation as per the specific requirements of your organization that cannot be performed by the inbuilt Runbooks. Motadata AIOps allows you to create custom, reusable, and modular runbooks so you are able to perform these operations.
Adding a new runbook for a commonly recurring task will not only help to increase the overall speed of your operations but will also ensure accuracy and efficiency.
Go to Menu, Select Settings ![]() . After that, Go to Plugin Library
. After that, Go to Plugin Library ![]() . Select Runbook. The Runbook screen is now displayed.
. Select Runbook. The Runbook screen is now displayed.
Select  to start creating a runbook.
Motadata AIOps facilitates creating multiple Runbooks based on the communication protocol required to connect to the monitor. The Runbooks can be categorized as follows:
Motadata AIOps allows you to schedule a Runbook for a particular monitor to run either once or multiple times at specified time intervals in the future.
Navigate to the Runbook to schedule its maintenance. Under the Actions tab, select ![]() to display the dropdown menu as displayed below.
to display the dropdown menu as displayed below.
Select Schedule Runbook ![]() to display a scheduler pop-up as shown below.
to display a scheduler pop-up as shown below.
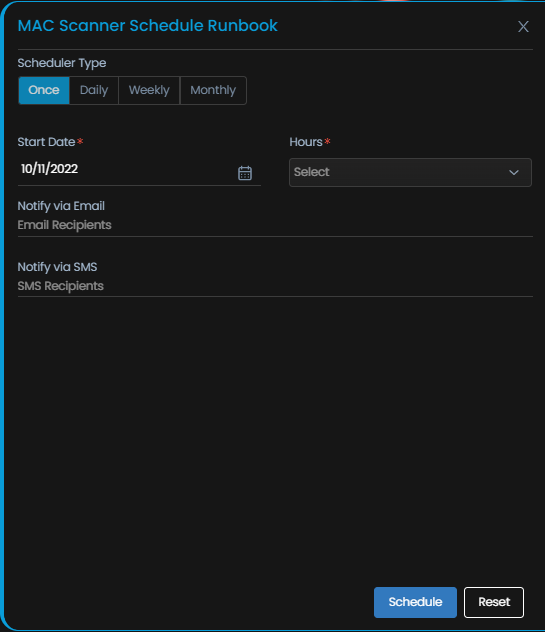
Fill in the details in the pop-up to create a scheduler. The following parameters are present in the pop-up:
| Once | Select this field to schedule the Runbook to run only once. |
| Daily | Select this field to schedule the Runbook to run daily. |
| Weekly |
Select this field to schedule the Runbook to run on a weekly basis. You can even schedule the maintenance on multiple days of the week in the selected time period.
|
| Monthly |
Select this field to schedule the Runbook to run on monthly intervals. You can schedule the maintenance to run on specific months and dates in the selected time period.
|
Select the Schedule button once all the details are filled out. The Runbook is now set up as per the specified parameters.
Runbooks in Motadata AIOps are executed on a particular monitor. In order to perform these actions, the Runbook has to be mapped to a Monitor. This mapping is achieved by assigning the required Runbook to the monitor in question.
Under the Actions Tab, Select ![]() to display permissible actions for each runbook. After that, Select Assign Monitor to display the list of monitors to which the runbook can be assigned. The monitors using the same communication protocol as the runbook are displayed for assignment.
to display permissible actions for each runbook. After that, Select Assign Monitor to display the list of monitors to which the runbook can be assigned. The monitors using the same communication protocol as the runbook are displayed for assignment.
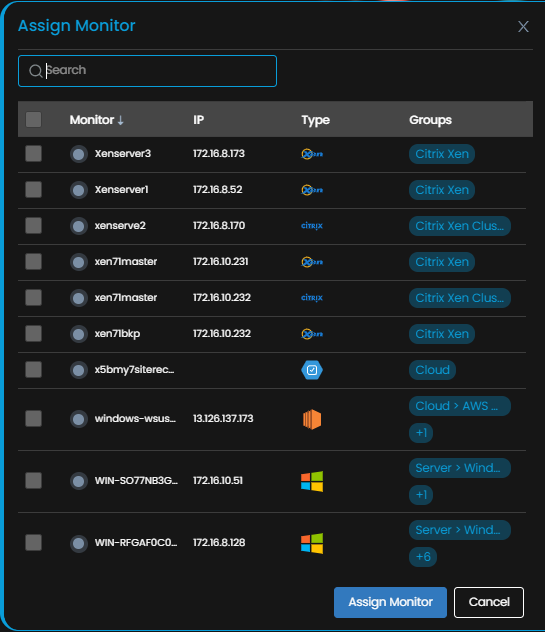
Select the monitors to which you need to assign the runbook using the check-box against it. You can select multiple monitors in case you need to assign the runbook to more than one monitor at once.
Select Assign Monitor to assign the runbook to the selected monitor(s).
Select Cancel if you do not wish to assign the runbook to the monitor(s).
In case you don’t want a Runbook to be executed for a monitor any longer, you can then unassign the runbook from the monitor
Under the Actions Tab, Select the icon to display permissible actions for each runbook. After that, Select Remove Assigned Monitor to display the list of monitors which are using the Runbook.
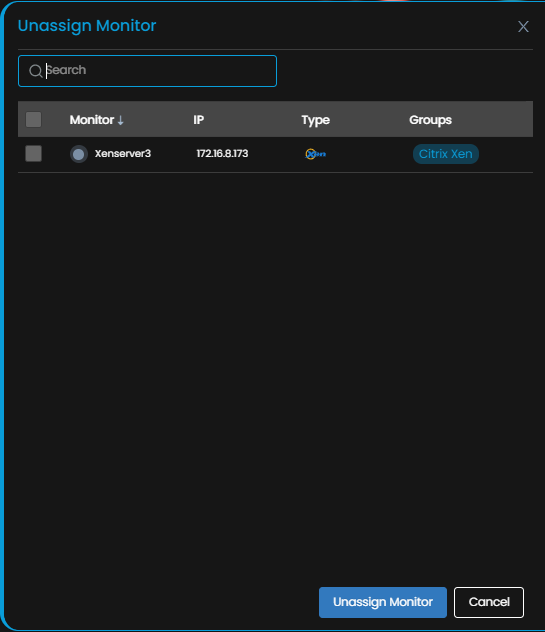
Select the monitors from which the runbook needs to be removed by using the check-box against it. You can select multiple monitors in case you need to remove the runbook from multiple monitors at once.
Select Unassign Monitor to remove the runbook from the selected monitor(s).
Select Cancel if you do not wish to remove the runbook from the monitor(s).
Runbooks in Motadata AIOps are executed on a particular monitor. In order to perform these actions, the Runbook has to be mapped to a Monitor. This mapping is achieved by assigning the required Runbook to the monitor in question.
Under the Actions Tab, Select the icon to display permissible actions for each runbook. After that, Select Assign Monitor to display the list of monitors to which the runbook can be assigned. The monitors using the same communication protocol as the runbook are displayed for assignment.
Motadata provides a set of in-built Runbooks which help to automate several tasks that an administrator has to perform. These Runbooks help to ease the cognitive load of trivial tasks by automating them.
These Runbooks further eliminate toil by having the common tasks run through Motadata when triggered by certain situations such as exceeding a threshold in your policies.
Runbooks could also be used for regular maintenance of IT systems and applications. For example, a runbook can outline common tasks such as creating database backups or updating access permissions.
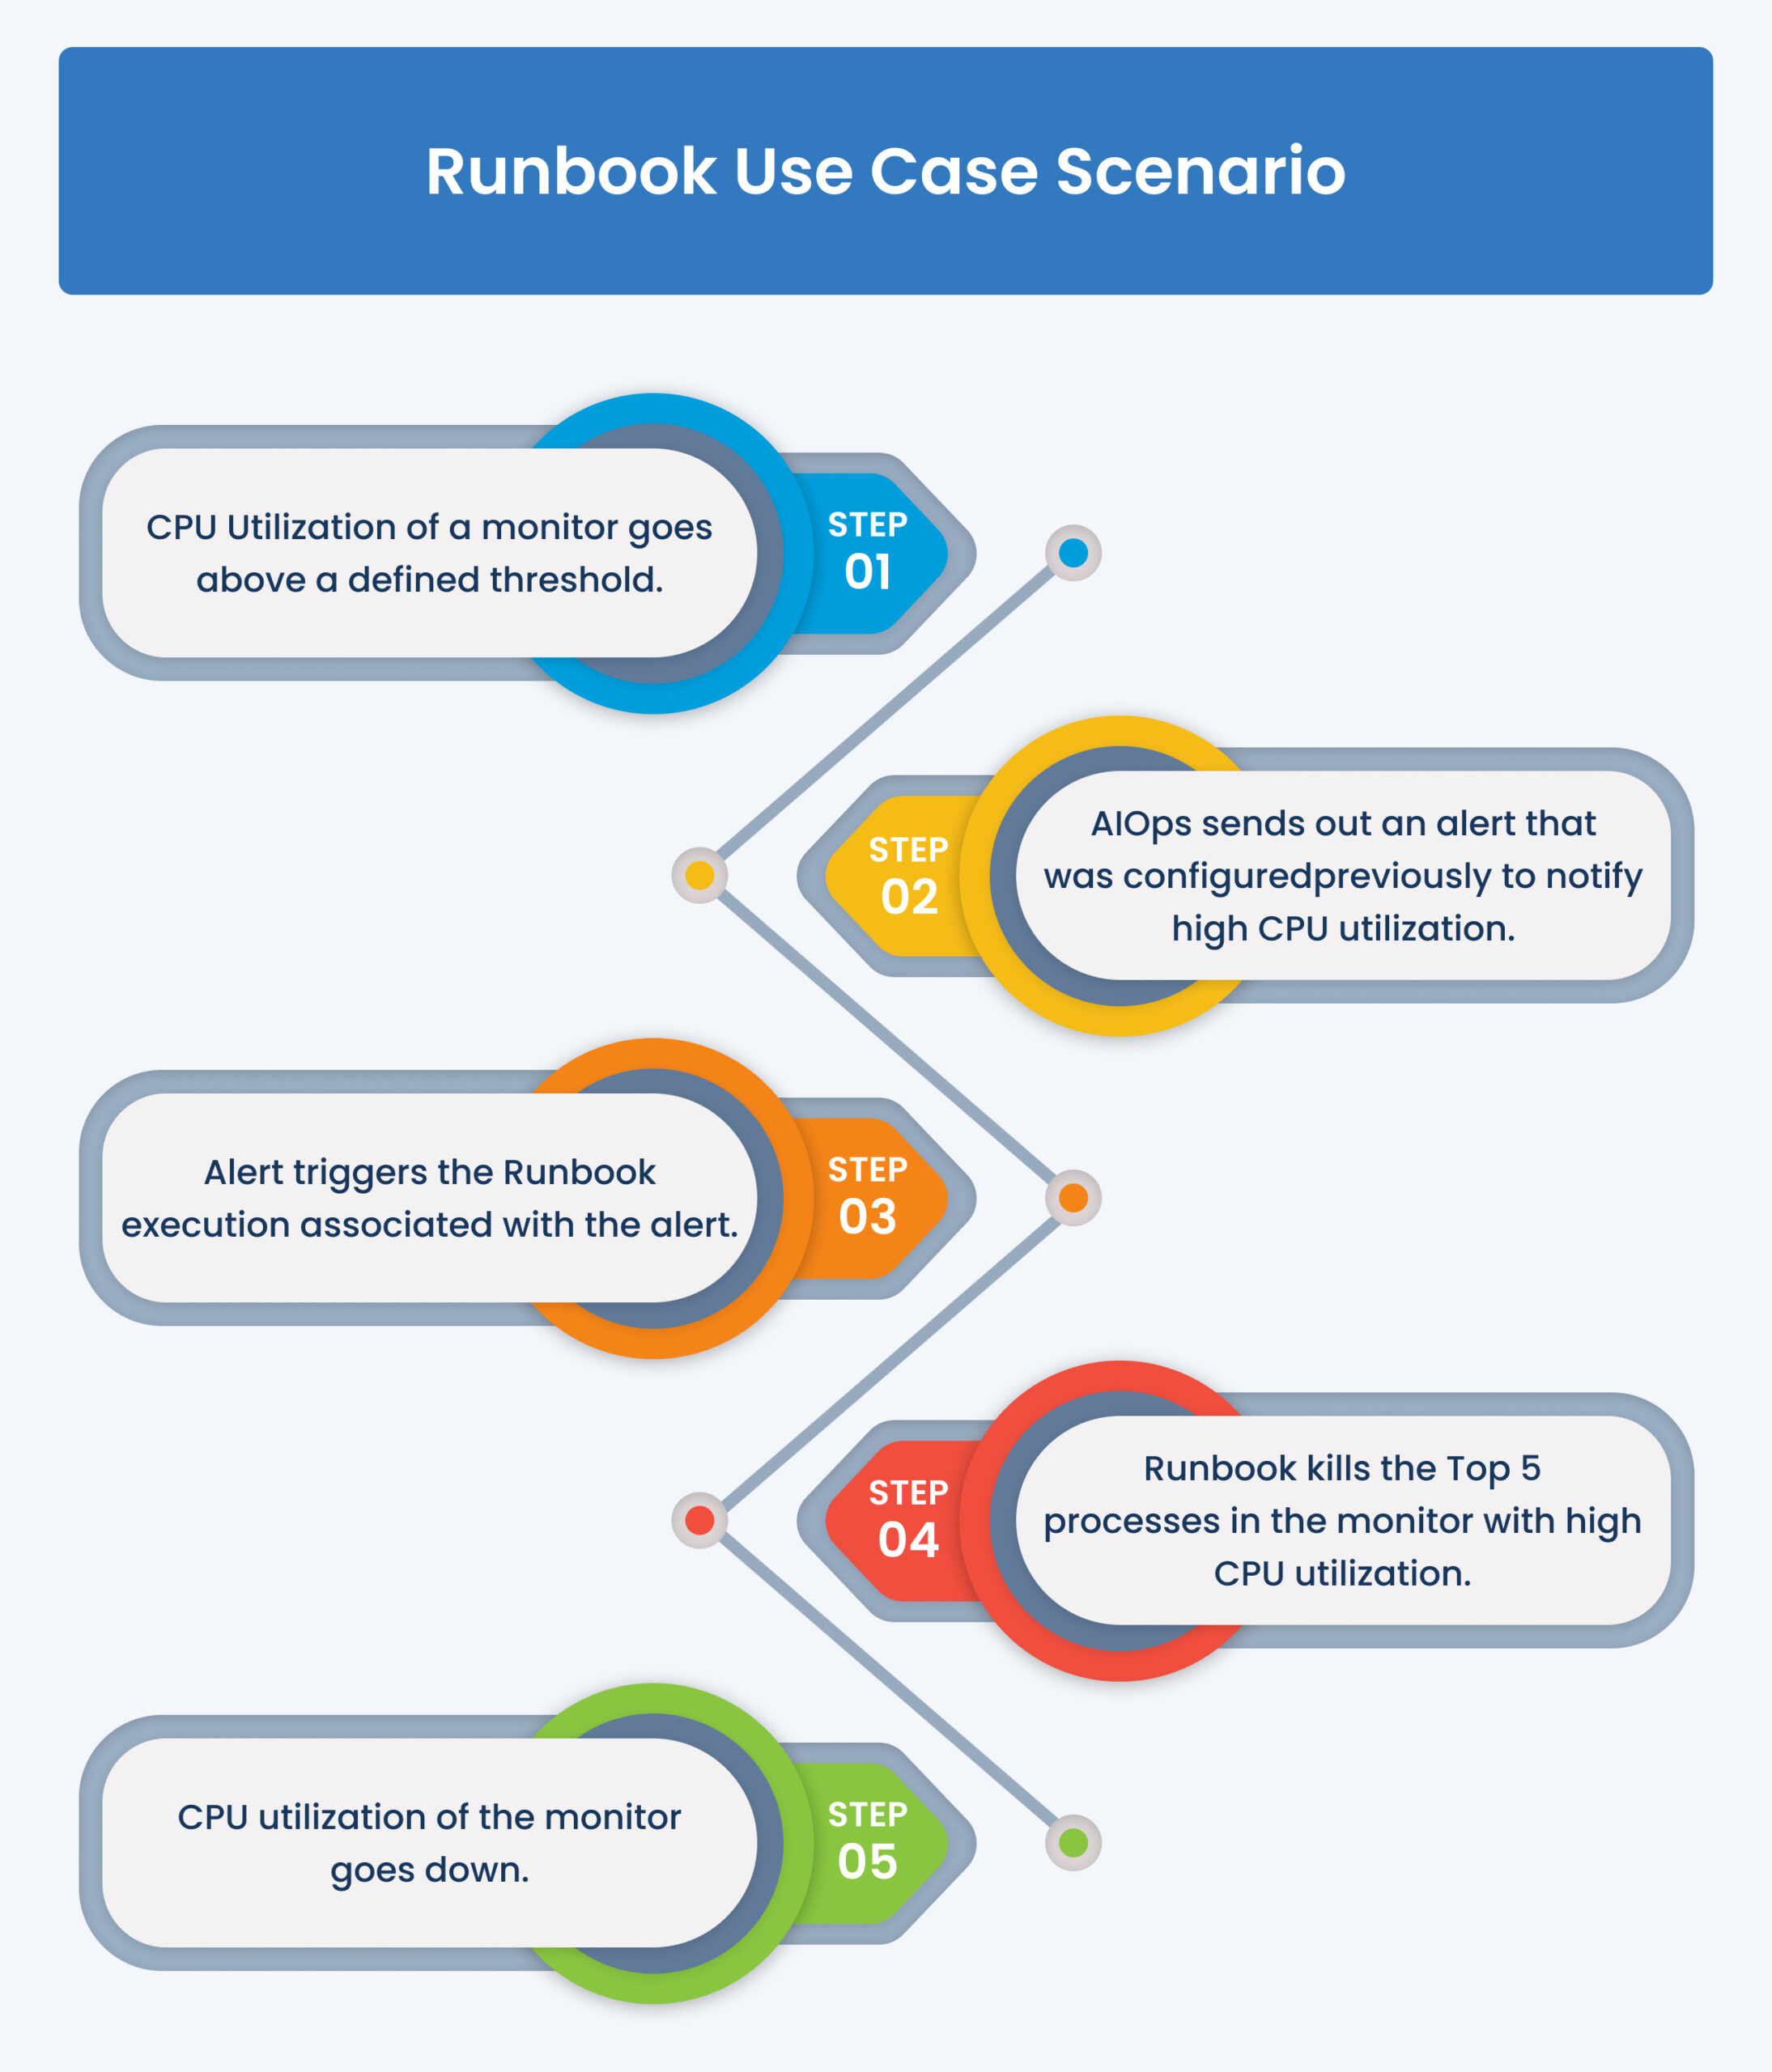
Suppose there is an alert raised in the system for the CPU utilization of a monitor going above a threshold. We can associate a Runbook with this alert to find out the Top 5 processes with High CPU utilization and kill these processes.
Motadata AIOps alerts that CPU utilization for a monitor is above threshold, triggers the Runbook execution associated with the alert and the Runbook kills the Top 5 processes with High CPU utilization. In this way, the CPU utilization can be brought down without any manual intervention.
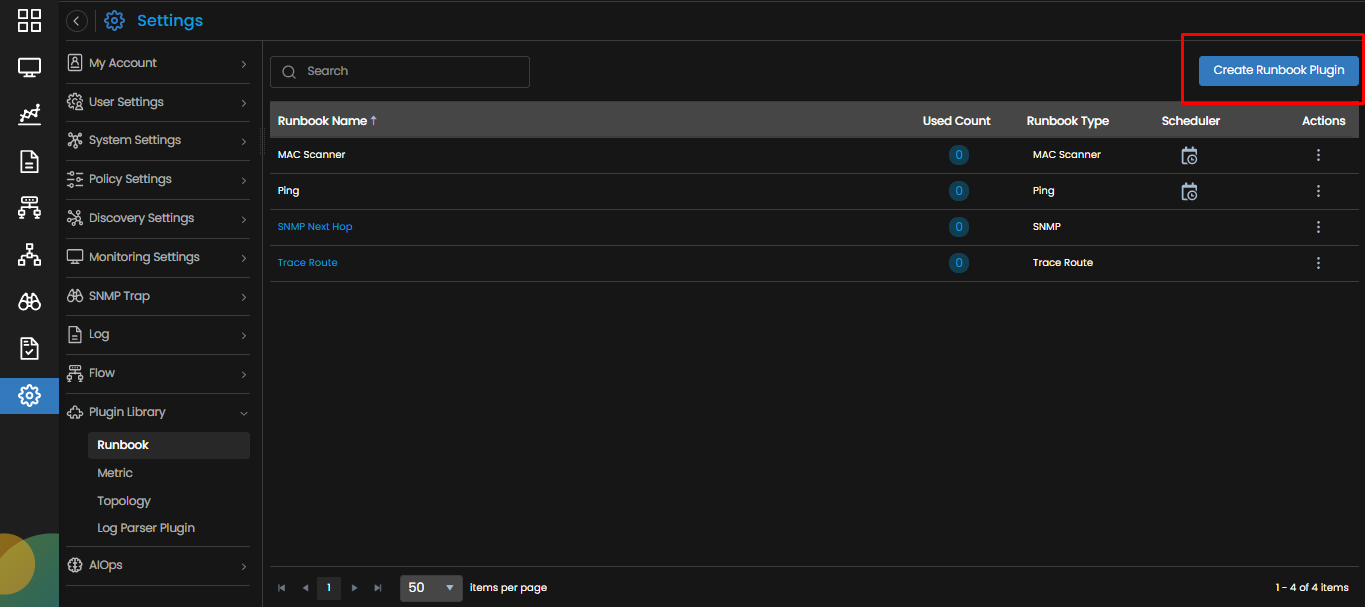
Motadata AIOps also allows us to create new Runbooks and manage the existing ones through a Runbook screen. You can view and execute the Runbooks on this screen.
Go to Menu, Select Settings ![]() . After that, Go to Plugin Library
. After that, Go to Plugin Library ![]() . Select Runbook. The Runbook screen is displayed.
. Select Runbook. The Runbook screen is displayed.
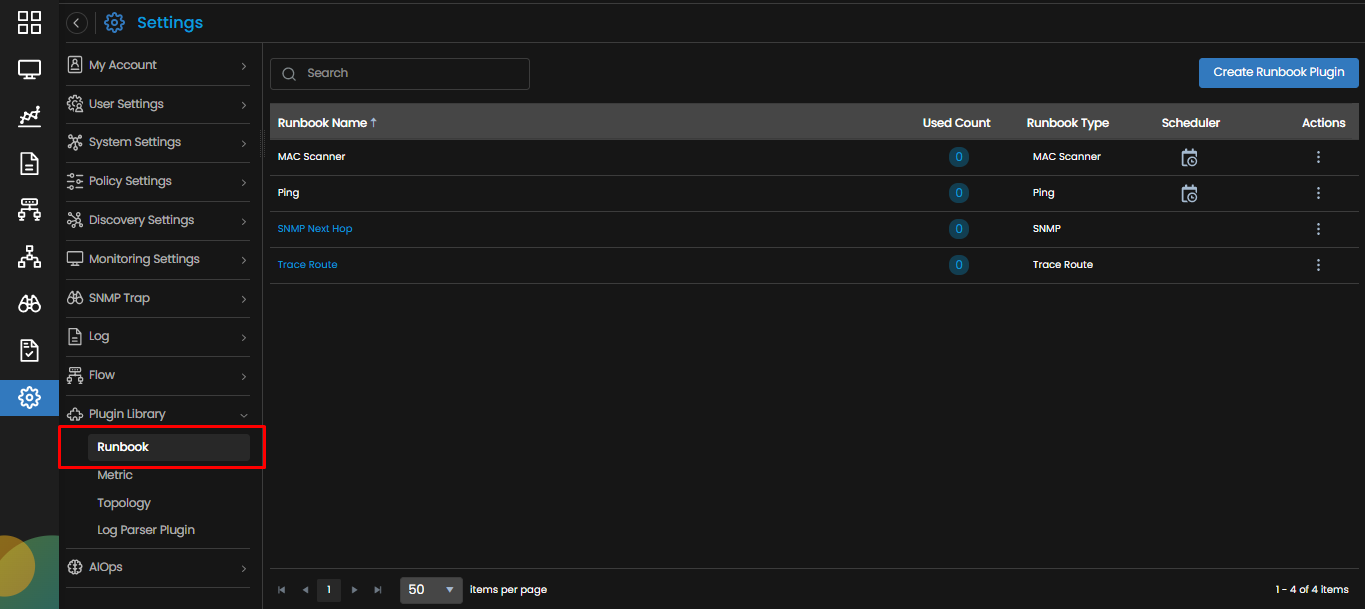
The following fields are then displayed on the screen:
| Runbook Name | The name given to identify a Runbook. The custom Runbooks present in the system have been logically named to identify their functionality. The same practice should be followed while creating new Runbooks. |
| Used Count | Indicates the total number of monitors using the Runbook. |
| Runbook Type | The type of runbook based on the communication protocol it uses to operate. |
| Scheduler | The scheduler details are displayed when the runbook is scheduled to run at a particular time. This column appears blank in case no schedule is set up. |
| Actions |
Selecting
|
Selecting the ![]() would run the Runbook instantly for the monitor to which it is assigned.This option would appear only if the Runbook is assigned to a monitor.
would run the Runbook instantly for the monitor to which it is assigned.This option would appear only if the Runbook is assigned to a monitor.
Motadata AIOps has several built-in plugins for various purposes, including building topology maps, log parsing, executing Runbooks, and metric polling. Plugin Management encompasses creating, updating, removing, and cloning an existing plugin. Motadata AIOps facilitates the management of several plugins that can be categorized as follows:
We will now look into each set of plugins in detail.
The live tail feature enables you to access all your log events in real-time from any source in your infrastructure that is sending the logs to Motadata.
Live tail can be used to check if a new deployment in your environment went smoothly.
Use this feature to see a real-time feed of log events associated with a source. Live tail shows the real time log events in white text visible very clearly over black background making the logs very easy to read.
Go to Menu, Select Log Explorer ![]() .After that, Select Start Live Tail
.After that, Select Start Live Tail ![]() . The screen to view the live tail is now displayed.
. The screen to view the live tail is now displayed.
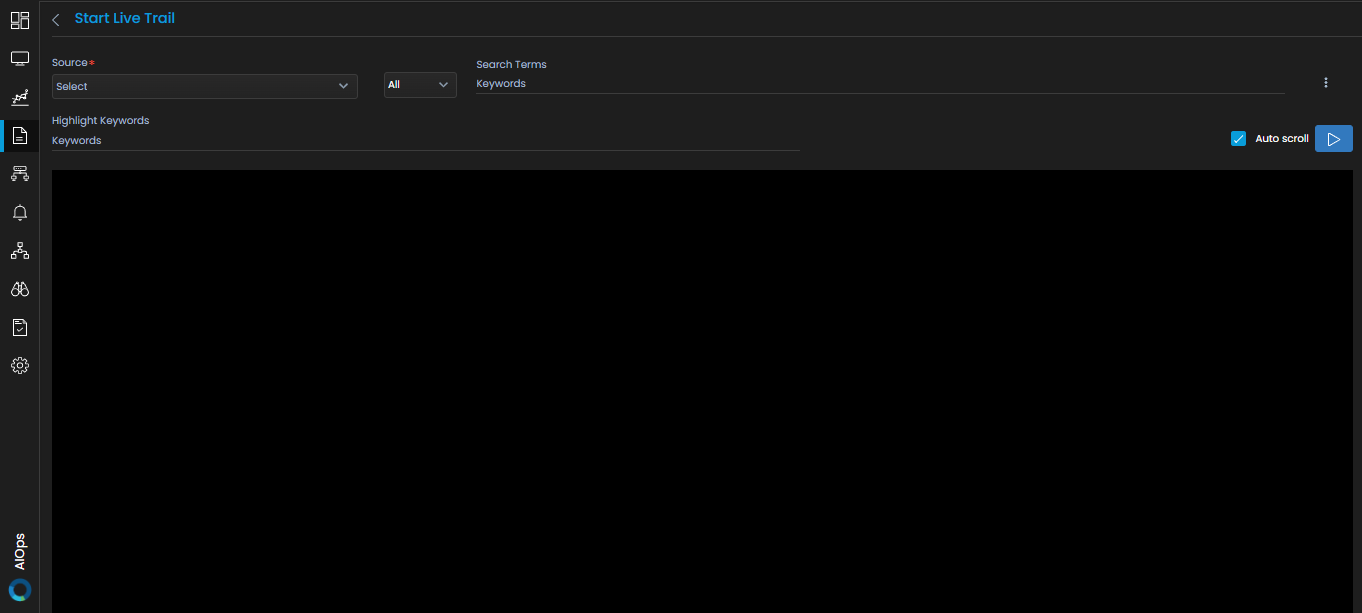
Enter the following details on the Live Tail screen:
| Source | Select the source of the log for which you want to view the live tail. | |
| Search Terms | Enter the keyword(s) that you wish to search for from the live tail. Once you have entered a search term, the live tail will only display the log events that have the keyword(s) you specified | |
| Highlight keywords | Enter the keyword(s) you wish to highlight from the live tail. The keyword(s) will be highlighted as shown in the diagram below. |
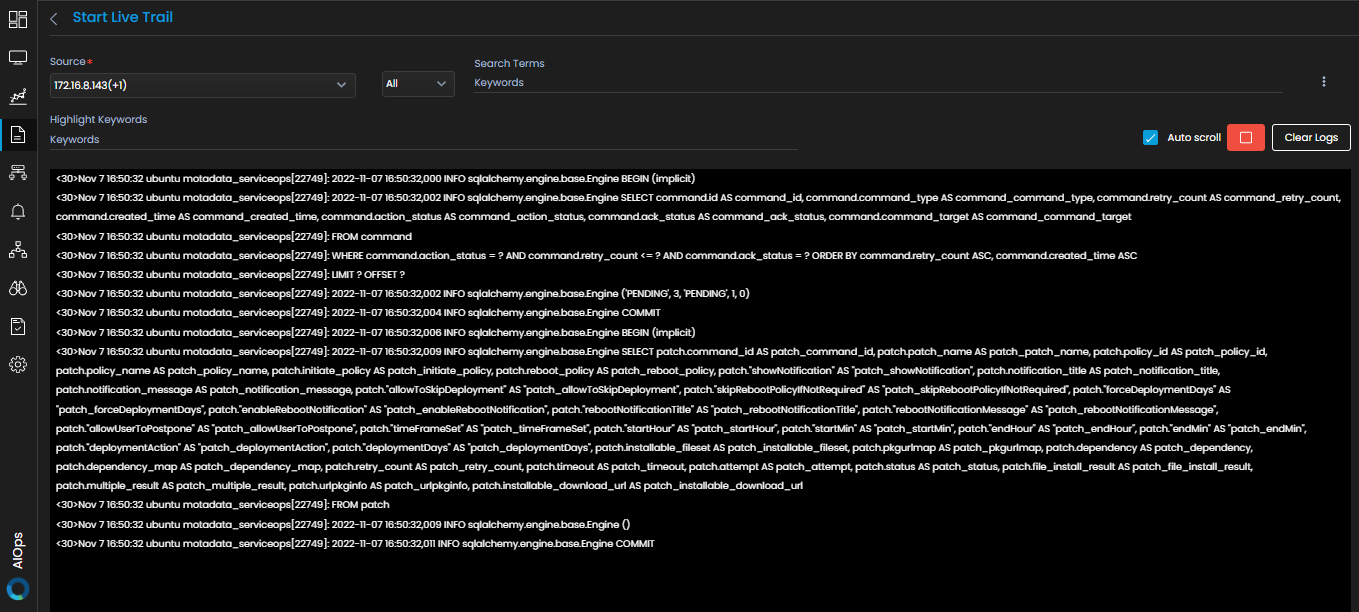
| Auto Scroll | Select the check-box to enable auto scrolling of the live tail of log events. |
| Start streaming/Stop streaming |
|
| Clear Logs | Select this button to clear all the logs that have been generated on the screen via live tail. |
| More Actions | Select the
|